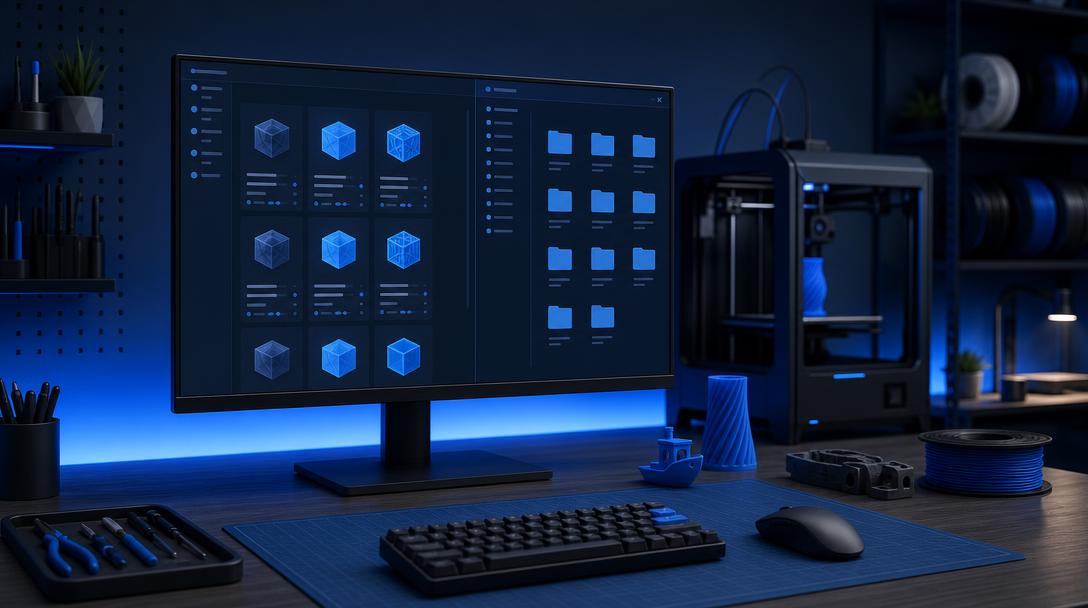
Slicer Profile Backup: A Guide to Moving Your Settings to a New Computer Without Losing Them
Slicer profile backup is the safest way to store the temperature, speed, infill, wall and support settings you have created for your 3D printer without losing them. When you change computers, reinstall your slicer software or move to a different working environment, you can export these profiles and restore your print settings in a short time.
Why should you back up your slicer profile?
Consistent print results depend on more than just the printer or filament. The profile you save in the slicer carries the printer volume, nozzle diameter, layer height, print speed, temperatures, cooling, retraction values and support settings together. Entering these settings manually every time wastes time and can lead to a small value being forgotten.
Backing up is even more important if you create separate profiles for different filaments. Keeping profiles prepared for PLA, PETG, ABS, TPU or engineering materials from getting mixed up is essential for repeatable print quality.
Create a profile structure before backing up
First, organize your profiles in the slicer using clear names. Including the printer, nozzle diameter and material in the profile name makes it easier to find the correct settings later. For example, you can use names such as “Ender-3_0.4mm_PETG_Functional” or “FDM_0.6mm_PLA_Fast”.
- Printer profile: Bed dimensions, build volume, and start and end G-code settings.
- Filament profile: Nozzle temperature, bed temperature, fan and flow values.
- Print or process profile: Layer height, number of walls, infill, speed and support settings.
- Custom settings: Changes you make for a specific part, material or production scenario.
After organizing the profile names, back up only the settings you use and have tested. Keeping untested profiles in a separate folder helps prevent the wrong settings from being selected in production.
How are Cura, PrusaSlicer and OrcaSlicer profiles stored?
Many slicer applications offer an option to export printer, filament and process profiles. In most cases, you simply need to open the profile manager, select the relevant profile and then use the option called “Export” or something similar. Do not leave the resulting file only on your computer’s desktop; store it on an external drive, in a reliable cloud folder or in a storage location that is backed up regularly.
It is also useful to add a short note next to the backup files. You can write down the slicer version, printer model, nozzle diameter and the material for which the profile was prepared. This way, you will remember what each setting was intended for when you open the file months later.
After installing the slicer on the new computer, import the printer profile first, followed by the filament and process profiles. Be sure to check the printer dimensions, start G-code and nozzle diameter. Some settings may have different names or default values in a different slicer version.
Test printing after importing
After restoring the profile, use a small test model instead of immediately printing a large or critical part. Check first-layer adhesion, temperature behavior, wall infill and support removal. If necessary, change a single value and save the new version of the profile under a separate name.
If you want to share the files and settings used for models you will send to production in an organized way, take a look at our guide explaining how slicers work. When comparing material profiles, you can also evaluate the FDM printing material options according to your intended use.
Once the correct profile is ready, you can communicate more clearly what material and quality expectations you have when sharing your print file for Ucuz3D’s FDM 3D printing service. Regular backups prevent the loss of settings and make it easier to repeat successful prints.


 Türkçe
 العربية
 Русский
 فارسی
فارسی Deutsch