
3D Printing Solutions for Automation and Robotics
Every gram at the tip of a robot arm dictates cycle time; we produce that tool light and durable, shaped to your geometry.
We Shape the Tool at the Robot Tip to Fit Your Line
How efficiently a robot arm works often depends less on the arm itself and more on how accurately the tool fitted to its tip (EOAT) is designed. Standard grippers picked from a catalog rarely fit your product’s real geometry exactly; that is why integrators end up having their own gripper jaws and adapter plates custom-made. With additive manufacturing, we deliver this tool to you in a far shorter time and at a notably lower cost compared with machining.
Because the weight at the robot tip directly affects cycle time, gram optimization sits at the center of design for us. With materials such as carbon or glass fiber reinforced nylon, we keep the tool as light as possible while preserving the required rigidity. This way the arm accelerates faster, oscillation is reduced, and your cycle time shortens across the whole line.
Which Parts of Your Line Do We Produce?
The range of materials we work with on FDM is wide; depending on each part’s function, we select a different recipe, from PLA to TPU, from engineering polymers to reinforced composites. Some of the tools we produce most often:
- Gripper and EOAT holders: high rigidity and low mass together with carbon fiber reinforced nylon.
- Custom gripper jaws: TPU-coated surfaces let you grasp delicate parts without scratching or slipping them.
- Sliding mechanisms and gears: quiet, wear-resistant motion with low-friction, self-lubricating nylon (PA).
- Sensor mounting brackets: dimensional stability with PETG or PC; sensor alignment does not drift over time.
- Cable ducts and energy chain carriers: fatigue resistance against repeated bending with TPU or PETG.
- Vacuum and pneumatic tooling: light, functional bodies in ABS for suction-cup adapters and manifold blocks.
Seamless Flow from Prototype to Series Production
If all you have is a broken sample or just an idea, we can re-model the part through reverse engineering; if you are at the sketch stage, we can get the tool ready for printing with design support. We usually produce and ship the design you approve within one business day, so you don’t keep a stopped line waiting for long.
We handle low-to-medium volume series just as readily as a single prototype, with the same quality approach: as if duplicating the same mold, we produce dozens of consistent copies at identical tolerances. On the cost side there are no surprises; we share the price upfront, set by part weight and material, and start production only after your approval. If your cell design or product geometry must not be shared with your competitors, we secure confidentiality throughout the process with an NDA.
If you want to lighten, replace, or have a tool in your robot cell designed from scratch, share your part with us and we’ll get back to you quickly and clearly. You can start right away by filling out the quote and order form.
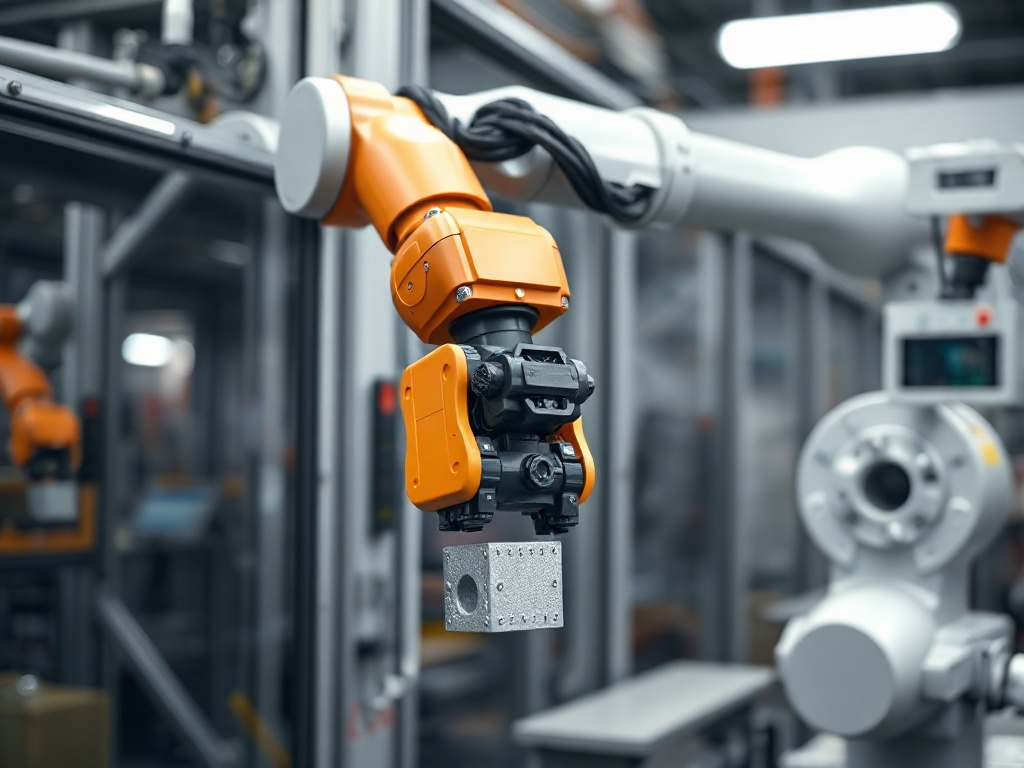
How the 3D printing process works for automation and robotics parts
It is enough to send us the part you need for your robot cell or production line in STEP, STL or 3MF format. We evaluate the geometry and operating conditions of parts such as a gripper jaw, an EOAT (End of Arm Tooling) holder, a sensor bracket, a cable duct or a custom gear, and recommend a suitable material and print orientation. After approval and payment, production is usually completed within 1 business day.
The balance between lightness and rigidity
On EOAT parts carried along moving axes, weight directly affects cycle time and robot load. For that reason, on parts like grippers and brackets we set the infill ratio, wall thickness and print orientation according to the force the part is subjected to. Where high rigidity is required we offer reinforced engineering materials, and where lightness comes first we offer lower-infill solutions.
Who it is suitable for
- Robot integrators and automation engineers
- Companies designing EOAT / grippers
- Production lines that need sensor and cable management brackets
- R&D teams that need rapid prototypes and low-volume custom parts
Frequently Asked Questions
Which material should I print gripper and EOAT holders in?
For moving and impact-exposed parts, PETG, ABS or high-toughness engineering materials are generally preferred; if rigidity comes first, glass/carbon reinforced filaments are recommended. We recommend the most suitable option for you from among our 17 material choices, based on the load your part will carry and its operating temperature.
How is the printing price for automation parts determined?
Pricing is based on a transparent per-gram tariff; that is, the part’s weight, the chosen material and the infill ratio determine the cost. For a clear price you can get a quote or review our current prices.
How long does delivery of my sensor bracket or cable duct order take?
After approval and payment, printing is normally completed within 1 business day. The time may change for a large number of parts, large dimensions or high density; we tell you the exact delivery time at the quote stage.
In which file format can I send my part?
We accept STL, STEP and 3MF formats. For parts where assembly tolerance is critical, such as gears and gripper jaws, sending STEP makes the evaluation easier thanks to dimensional accuracy.
Will my design stay confidential?
Yes. Since automation and robotics projects usually involve custom designs, we sign an NDA (non-disclosure agreement) with customers who request it. The files you send are used only for production purposes and are not shared with third parties.
How do you make the part light yet durable?
Because weight affects cycle time on moving parts like EOAT, we optimize the infill ratio, the number of walls and the print orientation according to the force the part is subjected to. This way we achieve a print that provides the required rigidity without adding unnecessary weight.
Related Guides
- Reproducing a Washing Machine Button That Fell Off the Robot With Spare-Part 3D Printing
- 3D Scanning and Reverse Engineering
- Screw Boss Design: Heat-Set Insert, Direct Thread, or Nut Pocket?
- Gear Design Printing: A Guide to Module, Tooth Count and Clearance for 3D Printing
- Printing With TPU Flexible Filament: Shore Hardness and Which Parts It Is Ideal For
 Türkçe
 العربية
 Русский
 فارسی
فارسی Deutsch