Per-Model Settings in Cura: The Right Print Settings for Different Parts on One Build Plate
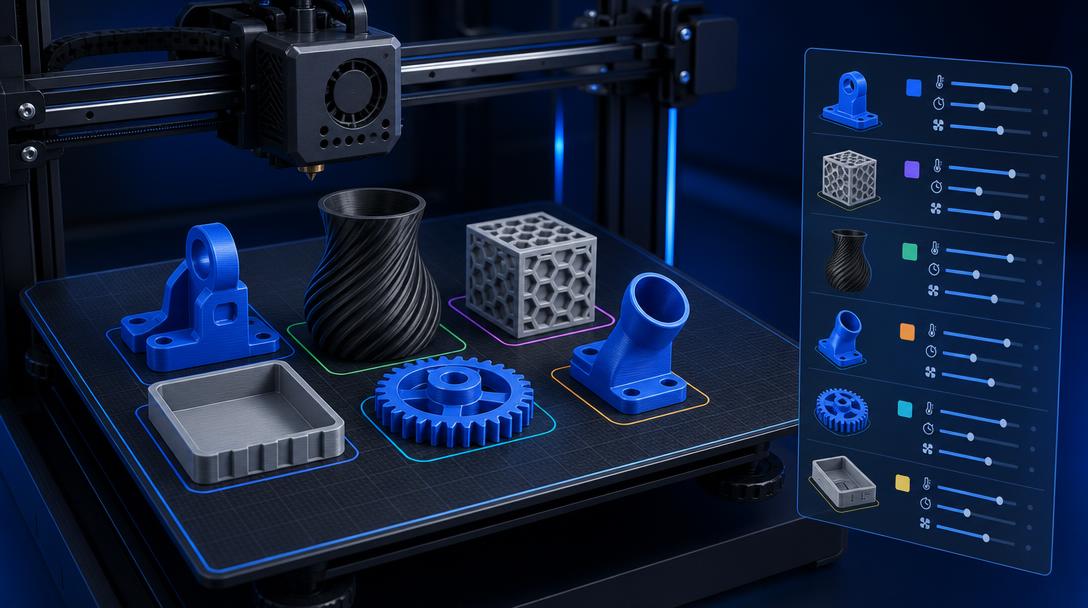
Per-model settings in Cura allow you to assign different infill, wall, speed, or support values to separate parts on the same build plate. This means you can print a small prototype quickly while producing a load-bearing bracket on the same plate with stronger settings. This method is one of the practical ways to use material and time more efficiently without starting a separate print for each part.
What Are Per-Model Settings Used For?
Normally, the settings in the Cura profile are applied to all models on the build plate. However, parts in the same project may have different functions. For example, a box lid may not require high infill, while a hinge mount or assembly foot may need more walls and infill. With per-model settings, you can slice these parts with different rules within a single print job.
This feature is particularly useful for prototypes, electronics enclosures, mounting brackets, and small-batch production. After selecting the model, you can open the adjustable options for that specific part from the settings panel on the right and define values that will apply only to that model.
How to Use Per-Model Settings in Cura
- Add the models to the same plate: Import the different parts into the Cura workspace and check their print orientations.
- Select the part: Click the model you want to modify. The settings options for the selected part will become visible.
- Enable the model settings: From the per-model settings section, select the features you want to use, such as infill or wall count.
- Enter the values: Set the infill percentage, wall count, print speed, or support behavior specifically for the selected part.
- Review the preview: After slicing, open the layer preview to confirm that the setting has been applied only to the target part.
Which Settings Can Be Changed for Individual Parts?
Changing every setting on a part-by-part basis is not equally safe. A practical starting point is to make limited changes to a few values that directly affect the part’s function.
- Wall count: This can be increased around screw mounts, mounting tabs, and areas exposed to impact.
- Infill percentage and pattern: These can be reduced for lightweight lids and increased for load-bearing bodies.
- Print speed: This can be reduced for better quality on small, detailed parts.
- Support settings: These can be enabled only for models with complex geometry.
- Horizontal expansion: This can be used carefully to improve dimensional fit for snap-fit or lid parts.
Material selection, however, is often a more fundamental decision than part-level settings. Using different materials on the same plate depends on the printer and its filament-change capabilities; therefore, the appropriate FDM materials for your project should be determined before printing.
Common Mistakes
The most common mistake with per-model settings is applying a change to the entire print instead of the selected model. Starting the print without checking the color display and layer behavior in the slicing preview increases this risk. In addition, increasing the wall count is not always enough; part orientation, layer direction, the geometry of the connection area, and the material’s properties should all be evaluated together.
Another mistake is changing too many settings at once. During the first attempt, changing only one or two parameters and observing the result makes it easier to identify the source of a problem. Especially with snap-fit parts, making a short test print to check small dimensional differences can be more economical than reprinting the entire model.
When used correctly, per-model settings in Cura allow you to establish a more controlled balance between speed, strength, and surface quality on a single plate. If you have prepared your design file, you can share the part-specific requirements with an appropriate 3D printing service before production; you can also review the slicer guide to better understand the slicing process.




 Türkçe
 العربية
 Русский
 فارسی
فارسی Deutsch