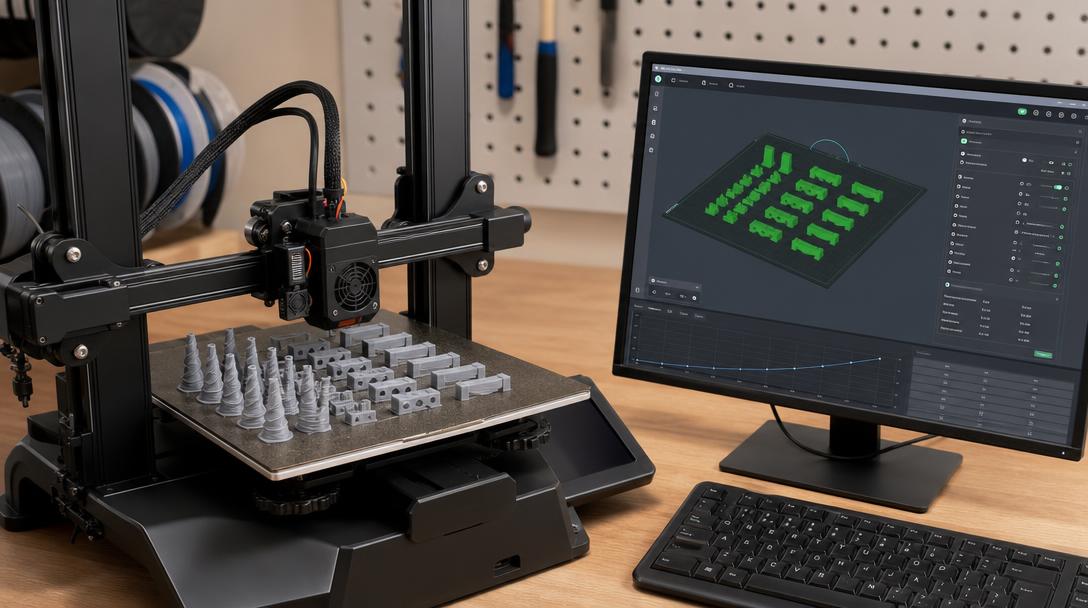
OrcaSlicer Calibration Tab: How to Run Flow Rate and Pressure Advance Tests
OrcaSlicer calibration tab, when used correctly, reduces the hassle of searching for individual test models for your printer and makes flow rate and pressure advance settings more systematic. In short, you first get your filament running stably at its base temperature, then correct the flow rate, and finally adjust pressure advance to improve corner behavior.
This order matters, because a pressure advance test performed with an incorrect flow rate can mislead you. Especially when you open a new spool, switch to a different PETG brand, or want cleaner corners and more balanced wall thickness, the built-in tests in OrcaSlicer can save serious time.
Why flow rate first, then pressure advance?
Flow rate affects the actual amount of material coming out of the nozzle. If flow is too high, walls bulge, top surfaces swell, and dimensions go off. If flow is too low, layers weaken and gaps appear on the surface. Pressure advance determines how early the printer compensates extrusion during acceleration and deceleration; this especially helps reduce overflow at corners and buildup around the seam.
That is why you should first bring the flow to the most accurate point possible, not just roughly close. Doing this with a small test before producing the part also helps make time and material estimates more realistic when getting an instant quote for online 3d printing.
Practical workflow in the OrcaSlicer Calibration tab
- 1. Prepare the filament: If the spool has absorbed moisture, the results will be distorted. Dry it first if necessary.
- 2. Choose the base profile: Nozzle diameter, layer height, and filament type must be correct.
- 3. Stabilize the temperature: If there is an obvious temperature problem, solve it first with a temperature tower.
- 4. Run the flow test: Use OrcaSlicer’s flow rate test to evaluate surface and wall behavior.
- 5. Save the new flow value: Do not make a big jump all at once; a small correction is safer.
- 6. Move on to the pressure advance test: Pay particular attention to corners, line junctions, and the amount of overflow.
- 7. Verify the result on a real part: A small bracket, box, or clip part is the best check.
What should you look for in a flow rate test?
In a flow rate test, the only goal is not “the part that looks the fullest.” The correct result is a surface that looks neither overly swollen nor dry. If the lines on the top surface are pressing into each other, the flow is usually too high. If fine gaps remain between the lines, the flow is too low. Edge bulging on outer walls and softened lettering details are also signs of excessive flow.
The goal here is not perfect cosmetics, but balanced extrusion. This is also what matters in a commercial 3d printing service workflow, because dimensions, surface quality, and repeatability must all be maintained at the same time.
Which signs matter in a pressure advance test?
In a pressure advance test, the main focus is on corners. If the value is too low, the printer leaves too much material as it enters the corner; a short bulge may also appear on exit. If the value is too high, this time the corners become weak, lines may become discontinuous, or wall continuity may be disrupted. The best value is usually the middle point where corners look defined but not artificial, while straight lines also remain consistent.
This setting becomes even more important for users printing at high speed. Still, it is a mistake to try to solve all problems with pressure advance alone before flow, temperature, and filament moisture are properly dialed in. If you want to review slicing logic more fundamentally, the guide What Is a Slicer and What Does It Do? is a good companion.
Which parts benefit the most from these tests?
OrcaSlicer calibration steps make the biggest difference in boxy enclosures, technical parts with screw holes, lids that require dimensional accuracy, and mechanical parts that fit into each other. In decorative models, errors can sometimes be hidden; but in functional parts, even small flow deviations directly affect fit clearance, wall thickness, and the feel of assembly.
In short: when a new filament arrives, when you change profiles, or when corners and dimensions start to degrade, first run the flow rate test in OrcaSlicer and then the pressure advance test. This short discipline means fewer trial prints and more reliable results.


 Türkçe
 العربية
 Русский
 فارسی
فارسی Deutsch