What Is the Maximum 3D Print Size? Can Large Parts Be Printed in One Piece?
The maximum 3D print size is limited by the build volume of the printer being used; there is no universal size. If a model exceeds this volume, splitting it into sections for printing and assembling it afterward is often a practical solution.
What does the build volume determine?
The dimensions specified for the printer’s X, Y, and Z axes indicate the approximate limits of what can fit on the build plate. However, designing a part to reach these limits exactly is not always a good idea. Constraints near the edges of the build plate, how well the part adheres to the surface, movement during printing, and the model’s geometry can all affect the usable area. Leaving a little clearance around the design makes it easier to position in the slicer.
Height is not the only factor: a long, narrow model may wobble when printed vertically or require more time for the layers to cool. A wide model may be at risk of its corners lifting, even if it fits on the build plate. For this reason, consider not only the overall dimensions but also the part’s print orientation and the surface that contacts the build plate.
How do you prepare a large model for printing?
First, check the model’s longest dimension and possible print orientations. Changing the orientation may allow the part to fit within the printer’s build volume, but this can also affect surface quality, support requirements, and strength between layers. For a load-bearing part or one that will be subject to bending, do not choose the print orientation based only on what makes it easier to fit.
If the model cannot be printed in one piece, choose the split line by considering how the load will transfer when the parts are assembled. Wide, flat joining surfaces can make alignment easier. Features such as pins, snap-fit joints, or screw connections can make assembly repeatable; however, clearances must be designed to account for FDM dimensional tolerances. If you plan to use adhesive, it is also important that the surfaces are clean and accessible.
- Split the part into as few sections as possible; each additional joint adds assembly and alignment work.
- Add asymmetrical keys or pins at the joints to make orientation easier.
- Instead of printing the entire model for the first trial, make a small tolerance test piece for the joint area.
- If the part will be used outdoors or under load, choose materials and design features to suit the conditions of use.
Split it or print it in one piece?
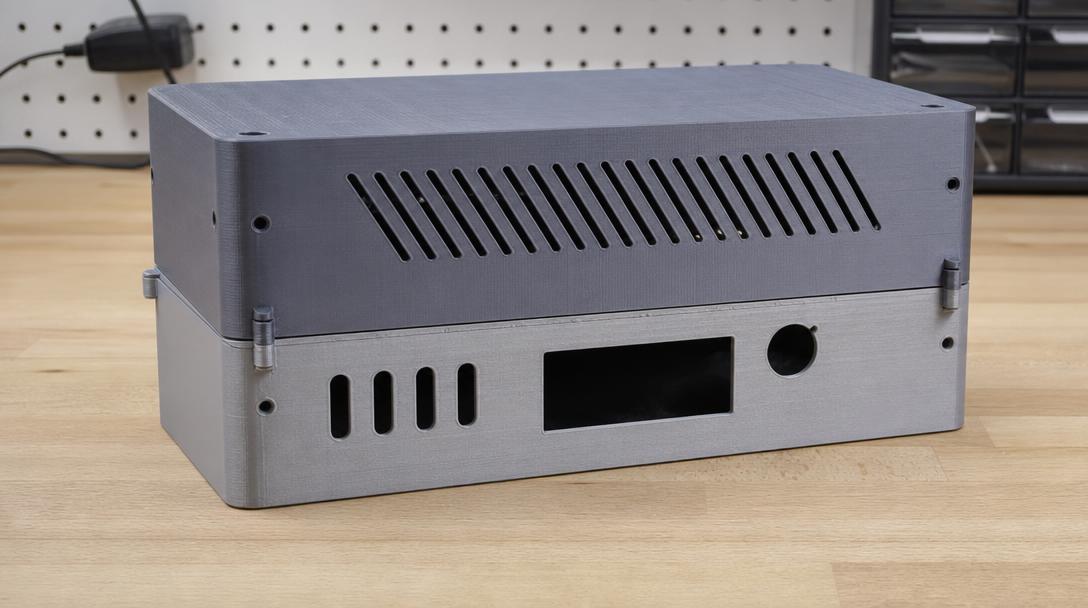
Printing in one piece reduces the need for assembly; however, a failure during a long print can mean having to reproduce the entire part. With a split print, the parts are smaller and easier to manage, but the joints require alignment and finishing. Printing in one piece may be preferable when visible seam lines are a concern, such as with a display model. For a large enclosure, fixture, or replacement part, splitting the model may make it easier to manufacture.
Before splitting the part, check the actual build volume and orientation options in the slicer. If your design file is ready, you can get an estimated price for it on the 3D printing price calculator page. When considering a suitable 3D printing service for large, functional parts, provide the dimensions, intended use, and any preferences about splitting the model. The guide to splitting and assembling large parts can help during the design stage if you need to align and join multiple pieces.
The short answer
The maximum size for a one-piece print depends on the build volume of the printer being used. If the model exceeds that volume, it can be produced as multiple FDM parts using suitable split lines, joint clearances, and print orientations; consider strength and assembly as well as dimensions when making your decision.


 Türkçe
 العربية
 Русский
 فارسی
فارسی Deutsch