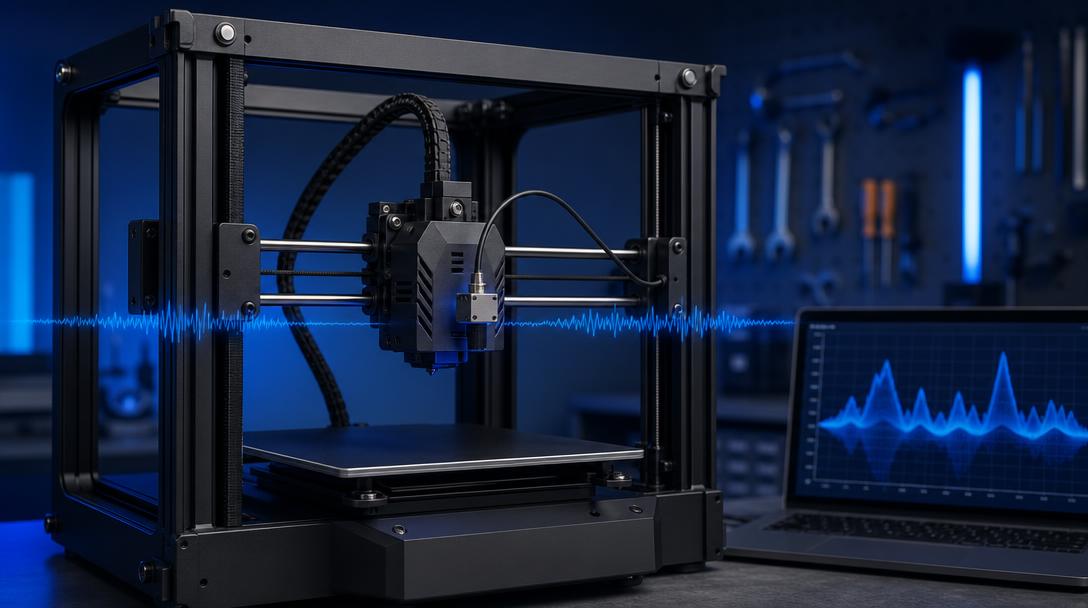
Ending Ringing with Klipper Input Shaper: How to Perform Resonance Calibration?
Klipper input shaper is a resonance calibration method used to reduce ringing and ghosting artifacts caused by 3D printer movements. By measuring your printer’s vibration behavior, it selects a filter suited to the motion system; this helps you control echoing waves on the walls while increasing print speed.
Why Do Ringing and Resonance Occur?
Ringing is identified by repeated wave-like artifacts around sharp corners or fast movements. When the print head changes direction, the frame, bed, linear rails, or belts vibrate briefly. When this vibration is reflected onto the print surface, lines resembling a ghost image appear on the model’s walls.
The problem is not caused by software alone. Loose belts, pulleys that are not securely fastened, a heavy print head, and high acceleration values can also increase ringing. Therefore, just as with a model prepared for an FDM 3D printing service, you should first complete the mechanical checks on your own printer as well.
What Does Klipper Input Shaper Do?
Input shaper adjusts the timing of the printer’s motion commands to reduce vibration rather than changing the commands directly. Klipper measures how the printer responds at specific frequencies and, based on this, filters the frequency range with a suitable shaper algorithm.
- Reduces ringing artifacts: Echoing lines around sharp corners become less visible.
- May allow higher acceleration: Print time can be reduced as long as quality is maintained.
- Produces printer-specific results: Measurement is important because the assembly and mechanical condition of even identical printer models may differ.
- Requires calibration: Resonance frequencies should be measured instead of entering a random value.
Preparing for Resonance Calibration
Check the printer’s mechanical condition before starting calibration. The X and Y belts should be neither loose nor excessively tight; pulley screws should fit securely on the motor shafts, and the printer should not rock on its surface. If there is any play in the bed or print head during normal use, eliminate it as well.
The most accurate method is to use an accelerometer compatible with Klipper. Sensors such as the ADXL345 can measure the printer’s vibrations directly. If you do not have a sensor, resonance test prints and visual assessment can be used; however, this approach is slower and less precise. Install the sensor according to the manufacturer’s instructions and keep the cable away from moving parts.
Step-by-Step Input Shaper Setup
- Back up the Klipper configuration. Make a copy of your existing printer.cfg file.
- Set up the accelerometer. Check the sensor connections and the relevant Klipper settings.
- Start resonance measurement. Take separate measurements for the X and Y axes. The sensor’s axis orientation must be correct.
- Review the recommended shaper values. Klipper provides frequency and filter recommendations based on the measurement results.
- Save the settings and run a test print. Compare the same model before and after calibration.
If ringing has not decreased after calibration, repeat the mechanical checks. Excessive acceleration, a loose connection, or a heavy toolhead cannot be completely hidden by software while the problem persists. Also, copying input shaper values directly to a different printer is not appropriate; each machine has different resonance behavior.
To improve the results, you can also apply the basic checks in the bed leveling guide. If your part’s dimensional accuracy and surface quality are sufficient, you can get a fast 3D printing quote for your production needs and evaluate the suitable material and print settings together.
Klipper input shaper is not a miracle solution on its own; when used together with proper mechanical maintenance, measurement, and controlled testing, it is a powerful calibration tool for reducing ringing problems.


 Türkçe
 العربية
 Русский
 فارسی
فارسی Deutsch