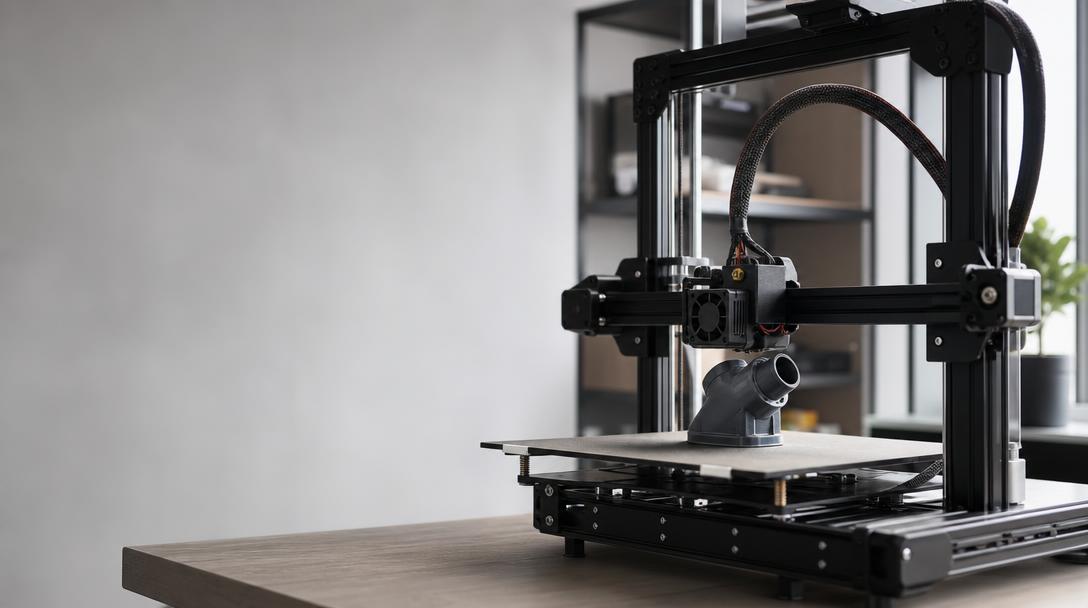
Building Marlin Firmware: Creating Custom Firmware for Your Own FDM Printer with PlatformIO
Building Marlin firmware allows you to prepare a custom software version suited to your 3D printer’s electronics board and the hardware you use. With PlatformIO in VS Code, you can define components such as the thermistor, motor drivers, build surface dimensions, sensors, and display, then create a firmware file ready to upload to your printer.
Why Should You Build Your Own Version Instead of Using Ready-Made Firmware?
Marlin is a flexible firmware project that supports a wide range of printer and hardware combinations. However, a ready-made binary file is suitable only for a specific hardware configuration. When you replace the motherboard, add a build surface sensor similar to BLTouch, or use a different thermistor, you need to reconfigure the firmware settings.
The main benefits of building your own version include:
- Hardware compatibility: You define the motherboard, display, drivers, and sensors according to the actual components you use.
- Safety: You can control the build surface and hotend temperature limits, thermal runaway protection, and movement limits.
- Upgrade flexibility: When you add automatic bed leveling, a filament sensor, or a different probe, you can update the settings yourself.
- Easy maintenance: By saving your configuration files, you can reuse the same settings later.
Steps for Building Marlin Firmware with PlatformIO
First, install Visual Studio Code and the PlatformIO extension on your computer. Download the stable version of Marlin and the Configuration.h and Configuration_adv.h files compatible with that version. Instead of using the example configuration directly, verify your printer’s motherboard model and electronic components.
- Open the Marlin folder with Visual Studio Code.
- In Configuration.h, select the motherboard model, serial port, build surface dimensions, and thermistor type.
- Enable the display, endstops, build surface sensor, and driver type you use in the relevant sections.
- Check the safe maximum temperatures for the hotend and build surface.
- Select the correct environment from the PlatformIO panel and start the build process.
- If a build error occurs, check for missing libraries, an incorrect motherboard definition, or an incompatible environment entry.
What to Check Before Uploading
Completing the firmware build without errors does not mean that the file will operate safely on the printer. Be sure to verify the processor model on the motherboard and the bootloader requirements. Selecting the wrong environment may prevent the printer from starting or the display from communicating.
Before the first upload, note your existing firmware settings and EEPROM values. After the new version starts, test the motor directions, endstop positions, temperature readings, and fan outputs one by one. Do not leave the hotend or build surface heating unattended. If the thermistor type is selected incorrectly, the temperature shown on the display may not reflect the actual temperature; therefore, start by testing the heaters at a low level.
How Do Marlin Settings Affect Print Quality?
Firmware is not merely a layer that allows the printer to start. Steps/mm values, speed and acceleration limits, thermal control, and axis directions directly affect the print result. Incorrect motor steps can cause dimensional errors; an incorrect thermistor definition can lead to temperature control problems; and excessive acceleration can cause ringing marks on the layers.
For this reason, print a small calibration model first after changing the firmware. Do not move on to a large or functional part before completing flow, temperature, and dimensional accuracy tests. When preparing your print files, it is also important to consider how these settings affect part tolerances during the FDM 3D printing service process you use. If you want to compare the basic properties of different materials, you can review the filament and printing material options. You can also consult the Klipper and Marlin comparison guide to understand how firmware and slicer settings work together.
Building Marlin for your own printer helps you manage hardware changes more systematically and understand the printing process better. When you proceed by testing in small steps, a custom firmware configuration provides a significant advantage in both reliability and print consistency.


 Türkçe
 العربية
 Русский
 فارسی
فارسی Deutsch