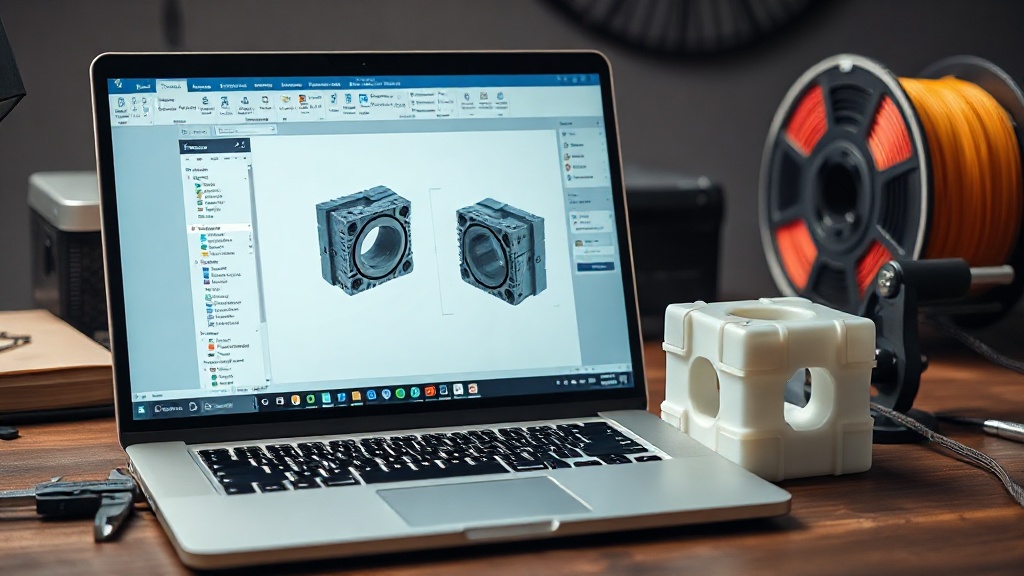
Print-Ready Models in Fusion 360: 7 Golden Rules for the Design Stage
Most failed prints have their roots not in slicer settings, but much earlier — at the design stage. If you think about FDM’s physical constraints while you’re still drawing the model, you’ll save yourself hours of troubleshooting later. In this post we’ve gathered seven practical rules you can follow to build the Fusion 360 print design process correctly from the start.
1. Think about wall thickness in terms of your nozzle
Thin walls get overlooked in the slicer or get squeezed into a single line. If you’re working with a standard 0.4 mm nozzle, keep your walls at least 0.8–1.2 mm thick so the slicer produces a clean, solid shell.
2. Add fillets and chamfers to corners
Sharp outer corners are both fragile and prone to lifting from the bed. Adding small chamfers to base corners and fillets to inner corners reduces stress concentration and strengthens the print.
3. Define tolerances as parameters
For press-fit or sliding parts, don’t hard-code the clearance directly into the dimension; instead create a parameter (for example, “fit_clearance”) and link all relevant dimensions to it. When you learn your printer’s actual tolerance, you update the entire model by changing just one value.
4. Minimise angles that require supports
Overhangs steeper than 45 degrees need support structures; supports mean surface marks and extra cleanup. Wherever possible, reorient the part so it doesn’t need supports, or back overhangs with chamfers.
5. Design the model with print orientation in mind
In FDM, strength is lowest between layers. Don’t leave the axis that will bear the load perpendicular to the layer direction; thinking about the direction of force from the outset is a subtle but critical habit.
6. Use the “3D Print” workspace
The 3D Print tool inside Fusion 360 lets you export the model directly via tessellation. If you keep the export quality (refinement) high, curved surfaces won’t look faceted.
7. Export the file in the right format
STL is sufficient for plain functional parts; however, for multi-body parts or work that carries colour or unit information, the 3MF format is more reliable. Before exporting, make sure units are set to millimetres.
Apply these seven rules and your model will be print-ready long before it ever reaches the slicer. Here’s a quick summary:
- Keep walls thick relative to your nozzle
- Add chamfers and fillets to corners
- Manage tolerance with parameters
- Reduce support angles and plan print orientation
If you’d like your finished model printed in the right material from our selection of 17 options, you can get a fast quote from our workshop in Şile. A good design is half the battle — let’s finish the rest together.



 Türkçe
 العربية
 Русский
 فارسی
فارسی Deutsch