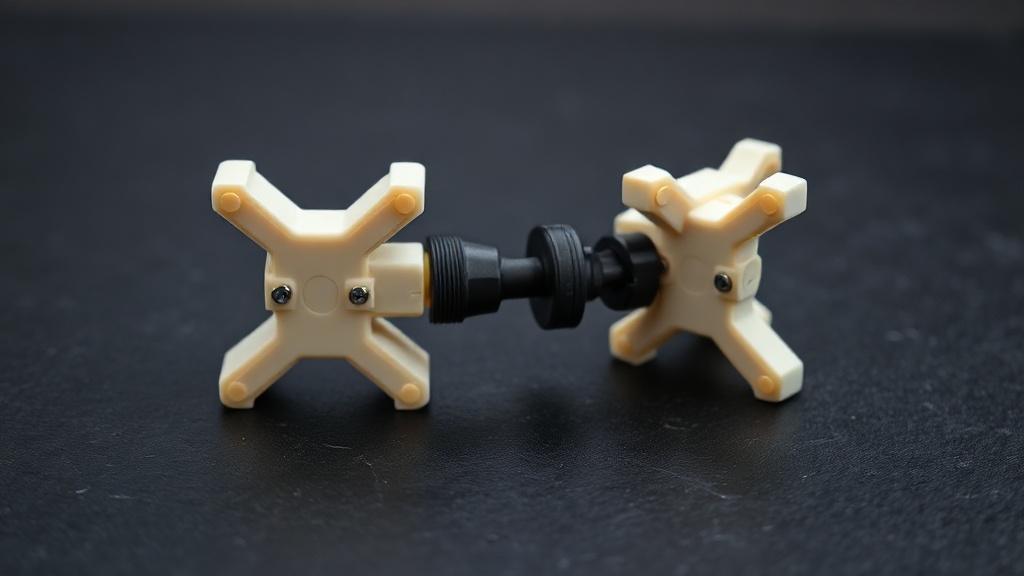
Moving Joints and Print-in-Place Design: The Secret of Clearance Gaps
When you pull a part off the printer and touch it, only to have it start rotating, folding, or sliding without a single screw or drop of glue, it feels like a small miracle. That magic is called print in place design: producing a moving mechanism in a single print run, fully assembled, without ever splitting it into separate parts. The entire art of it is hidden in that invisible gap between the joints.
Why is the gap so important?
In print-in-place, two parts are actually printed side by side without ever touching each other. If the gap between them is too narrow, the layers fuse and the joint locks up solid as stone. If it is too wide, the joint plays loose, wobbles, or even falls apart. The right clearance typically falls within the following range depending on your material and printer:
- 0.30 – 0.40 mm – safe starting range for PLA
- 0.40 – 0.50 mm – preferred value for stickier materials such as PETG
- 0.20 mm – should only be attempted on very precisely calibrated printers
That is why, before starting a large mechanism, printing a small test joint and verifying the clearance is far smarter than trashing a print that took hours to complete.
Layer orientation and bridging
In print-in-place, the joint typically forms in the horizontal plane — that is, between layers. Here the upper part bridges (bridging) over the gap left by the lower part. If bridging quality is poor, sagging layers close the gap and the joint fuses. To prevent this:
- Keep the cooling fan running as high as possible
- Slightly reduce bridging speed to let the filament settle properly
- Orient the joint toward the direction in which the part prints most stably, whenever possible
Small design details make a big difference
Adding a light chamfer to the corners of the joint pin prevents the part from catching on the first movement. Also, if you add tiny stop protrusions to the ends of the pin in hinge-type designs, the joint will not come apart. Gently working the joint back and forth to break any fused points (break-in) before the first real movement is usually necessary; this is normal and does not damage the part.
From idea to product
Print-in-place eliminates the hassle of assembly — from toys to cable holders, from folding boxes to functional prototypes. If your design is ready and you want a clean print in the right material, you can get support from our workshop in Şile via a quick order.
On your next jointed project, print a small test joint first; once you find the right clearance, the rest truly turns into an enjoyable engineering game.


 Türkçe
 العربية
 Русский
 فارسی
فارسی Deutsch