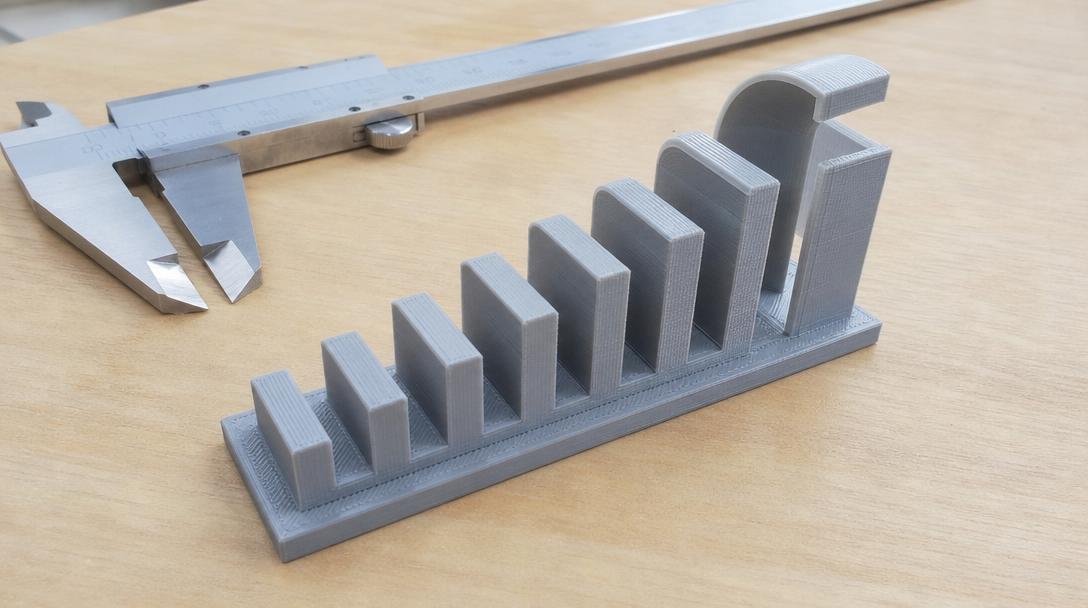
FDM Tolerance Test Cup: Measure Your Printer’s Real Clearance in One Print
An FDM tolerance test is the fastest way to reveal your printer’s real clearance for interlocking parts. With a single small test cup, you can see which range stays tight and which turns loose, then design your next parts accordingly. If you want to see the cost of a small trial print first, you can calculate the instant price.
What does the test cup measure, and how do you read it?
A tolerance test cup usually contains different clearances within the same model. The goal is to understand at a glance whether parts fit without rubbing, or whether they move too much because of excess clearance. For example, the same test logic can be used for a shaft and bearing seat, a lid-and-body fit, or a snap-fit clip. That is why the value of the test is not only in measuring dimensions, but also in seeing assembly behavior.
In practice, you are looking for these three results:
- Too tight: If the part goes in only by force and feels difficult during assembly, the clearance is too small.
- Ideal: If it fits by hand but does not wobble unnecessarily, the dimension is close to correct.
- Loose: If the part slides in easily and you can feel play, the tolerance is too large.
If a part will be installed and removed several times, a little movement allowance often works better than a fully locked fit. On the other hand, for covers, enclosures, or fixtures that seat only once, a tighter value may be preferable. Also, because differences can appear even between small variations of the same model, noting the value you find once saves a lot of time in the long run.
Which settings make a difference for good results?
Clearance does not come only from design; print settings also change the outcome. So when you print a test cup, you need to think about the entire workflow, not just a single parameter. Parts ordered through 3D printing service are evaluated with the same logic: material, wall count, print orientation, and cooling work together.
- Material: PLA is more stable, PETG is a bit more flexible, and ABS/ASA require different clearance because of heat and shrinkage behavior.
- Layer orientation: How you rotate the part affects how tight the fit is and how strong it becomes.
- Flow and wall thickness: Too much flow swells the dimensions; too little flow increases the sense of looseness.
- Temperature and fan: A part printed at higher temperature may ooze more, which makes fits harder.
As a starting point, around 0.15–0.25 mm of clearance is a safer first try for small functional parts. For PETG and parts that need some flex, you may need to increase this a bit. The final value depends on your printer’s mechanical condition and filament quality. If the printer has loose belts, a bed leveling issue, or nozzle wear, the test cup can reveal those indirectly as well.
Quick workflow
- Prepare a single test cup and try several different clearances in the same print.
- Check the critical dimensions with a precise caliper.
- Note the best-fitting clearance and use the same value in the next model.
- To improve a snap-fit design, also refer to the guide What Is Tolerance? How Are Interlocking Parts Designed?
In short, a tolerance test cup is the fastest way to move forward with measurement instead of guesswork. Especially in repeated spare parts, fixtures, and enclosures, finding the right clearance once makes every later print cleaner and less expensive. When you have a tolerance value that works well, deciding how to turn a new part into a model becomes much easier.


 Türkçe
 العربية
 Русский
 فارسی
فارسی Deutsch