What Is Z Offset? The Key to a Perfect First Layer
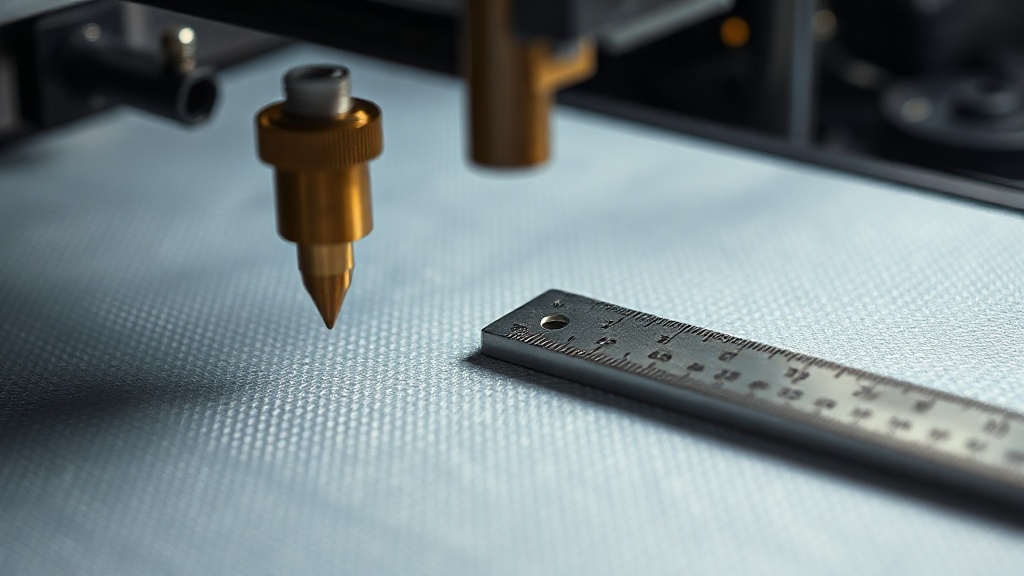
The fate of your print is decided in the very first seconds — before a single layer is even complete. This is where Z offset comes in: it defines the exact distance between the nozzle and the bed surface, and it directly determines whether the first layer adheres properly. If this distance is off, no matter how high-quality a filament you use, the result will be disappointing.
What Exactly Does Z Offset Control?
After automatic or manual leveling, the printer establishes the “zero” point of the bed. Z offset then applies a correction to that zero point. A negative value brings the nozzle closer to the bed; a positive value moves it farther away. The goal is to find the ideal gap so that melted filament is gently pressed and spread against the bed.
Signs of an Incorrect Setting
- Nozzle too close: The first layer becomes transparent, filament squeezes out to the sides, and the nozzle may even scratch the plate or clog.
- Nozzle too far: Lines remain rounded and separate, the part fails to grip the bed, and the print shifts or detaches early on.
- Uneven layer: If one corner looks good and another doesn’t, the issue is more likely bed leveling than the offset — check that first.
Step-by-Step Correct Calibration
The most reliable method is to find a rough zero using a sheet of paper and then fine-tune from there. You can follow these steps:
- Heat the bed and nozzle to printing temperature; cold calibration is misleading because metals expand when hot.
- Print a single-layer test square and adjust the value in 0.02–0.05 mm increments via the live (baby step) adjustment menu.
- Fine-tune until you get a smooth, matte surface where the lines are just barely touching each other.
In an ideal result, the layer lines appear fused together but not squashed. Once you achieve this look, save the value and reconfirm it with small tweaks each time you change filament.
A Note from Our Workshop
In our production line, this value is reviewed regularly for every machine — because a consistent first layer directly affects the dimensional accuracy and surface quality of the part. If you’d rather leave your print in professional hands instead of wrestling with calibration yourself, you can share your file through our quick order page.
Once your first layer sits right, you’ve won half the battle — one test will show you just how big a difference a small Z offset tweak can make.


 Türkçe
 العربية
 Русский
 فارسی
فارسی Deutsch