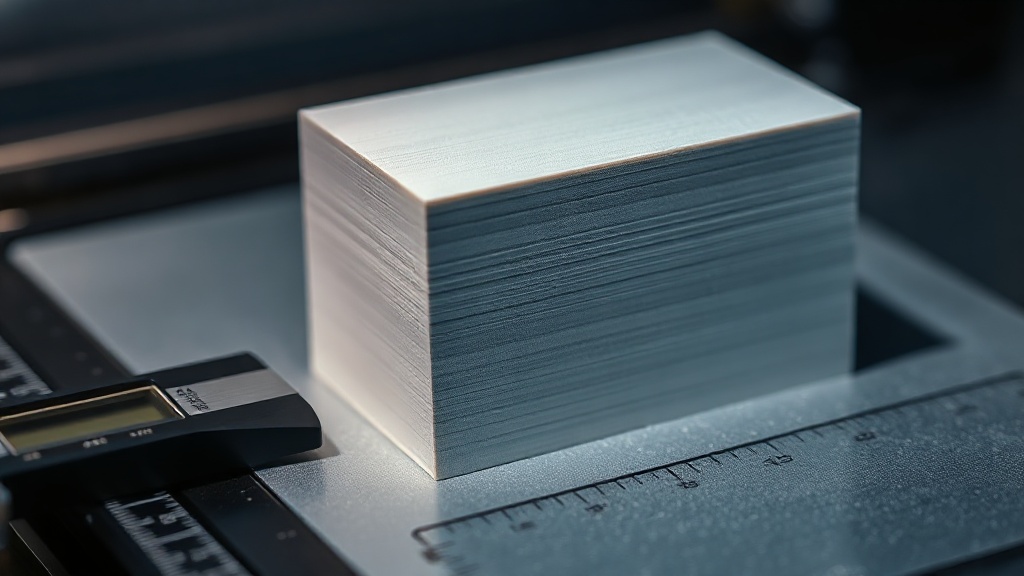
What Is Elephant Foot? A Guide to Fixing First-Layer Flaring
If you have noticed that the edges just above the base of your print flare outward slightly after removing it from the bed, what you are dealing with is elephant foot. The bottom few layers of the model come out wider than the layers above, making the part look as though it has been squashed under its own weight. While it may seem like a cosmetic defect, it is actually the result of two overlapping physical causes — and it can be largely prevented with the right settings.
Why Does Elephant Foot Occur?
Two factors lie at the root of the problem. First, the initial layers in contact with the heated bed spread sideways under the weight of new layers pressing down on them before they have fully cooled. Second, the nozzle may be sitting too close to the bed; when the gap is too narrow, molten filament gets squeezed out and overflows to the sides.
This effect is especially pronounced with materials like PETG that use high bed temperatures, and with parts that have large flat bases. So in most cases you are not looking at a bad design — you are looking at a calibration-related overflow.
Step-by-Step Solutions
There is no single magic setting to eliminate elephant foot; working through the following in order usually gives the best results:
- Adjust your Z-offset: Move the nozzle a touch further from the bed. If the first layer is being over-compressed, increasing the gap directly reduces overflow.
- Lower the first-layer temperature: Reducing the bed temperature by a few degrees helps the bottom layers solidify faster and prevents spreading.
- Use elephant foot compensation: Many slicers (Cura, PrusaSlicer, OrcaSlicer) offer a dedicated compensation field for this issue; it pulls the first-layer perimeters inward in software.
- Add a chamfer to the model: If you add a small 0.4-0.6 mm chamfer to the bottom edge of your model during design, the resulting bulge sits in that recess and the outer dimensions are preserved.
- Check your cooling: The fan is typically off for the first layers; making sure adequate cooling kicks in for the upper layers helps limit spreading.
Which Setting Should You Start With?
In practice, the quickest wins come from Z-offset and the slicer’s compensation option. Print a small test piece first and observe the effect of each change; modifying only one parameter at a time helps you identify the true source of the problem.
Having your parts come out dimensionally accurate from the very first layer is critical in projects where assembly tolerances are tight. If you would rather have precise work like this printed professionally without the hassle, you can share your file and request a quote through our quick order page. Let us handle the calibration details — you focus on the result.



 Türkçe
 العربية
 Русский
 فارسی
فارسی Deutsch