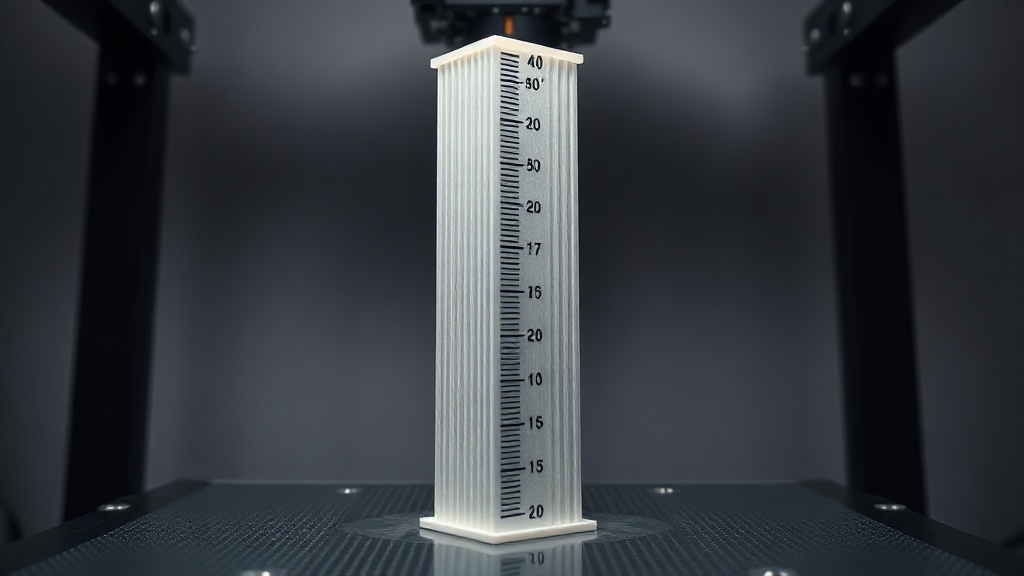
How to Run and Interpret a Temperature Tower (Temp Tower)?
Has it ever happened that you loaded a new filament spool, started your first print, and felt the result was “just a notch too hot” or “slightly too cool”? This is exactly where the temperature tower comes in. A temperature tower is a small but invaluable calibration test that prints different nozzle temperatures on a single part all at once, letting you see at a glance which temperature produces the cleanest results for that particular filament.
What Is a Temperature Tower and Why Does It Matter?
Every filament spool can be printed within a wide range given by the manufacturer (for example, 190–220 °C for PLA). However, even the same material’s ideal temperature varies by brand, color, and moisture level. A temperature you set by guesswork can cause problems such as weak layer adhesion, stringing, or excessive flow. A temperature tower eliminates this uncertainty.
How Do You Run the Test?
All you need to do is download a ready-made temperature tower model (widely available on sites like Thingiverse) and slice it so that a different temperature is assigned to each section:
- Define the material’s range: 195–220 °C for PLA, 230–250 °C for PETG, and 230–250 °C for ABS are good starting points.
- Use 5-degree steps: A 5 °C difference between each block makes the distinction clearly visible.
- Add the temperature change in your slicer: Cura, PrusaSlicer, and OrcaSlicer all have a height-based temperature change feature; some models handle this automatically.
- Keep all other settings constant: Do not change speed, cooling, or flow settings so that temperature remains the only variable.
How Do You Interpret the Results?
When the print is finished, pick up the tower and examine each block carefully. Look for:
- Bridging: The block that produces the cleanest, least-sagging bridges is closest to the correct temperature.
- Surface quality: At excessive temperatures, surface glossiness, bubbling, and stringing increase.
- Layer adhesion: Layers that separate easily when you press with your fingernail indicate the temperature is too low.
- Detail sharpness: The block where text and overhangs appear sharpest is generally in the ideal range.
Note the temperature of the most balanced block and save it as a new profile. This small investment will noticeably improve the quality of all your future prints.
If you would rather skip all this calibration work and have your prints made with ready, calibrated profiles, click here to get a quote; upload your file and we will take care of the rest.


 Türkçe
 العربية
 Русский
 فارسی
فارسی Deutsch