How to Choose Layer Height? Comparing 0.12, 0.20, and 0.28 mm
How to choose layer height is one of the most critical decisions that determines the balance between quality and print time in FDM printing. The same model can produce completely different surface quality, detail level, and production time at 0.12 mm, 0.20 mm, and 0.28 mm settings. The right choice should be made according to the part’s intended use, visible surface expectations, and delivery speed. If you are considering getting a professional 3D printing service for your prototype or end-use part, choosing the layer height correctly from the start both reduces revisions and makes the result more predictable.
What does layer height change?
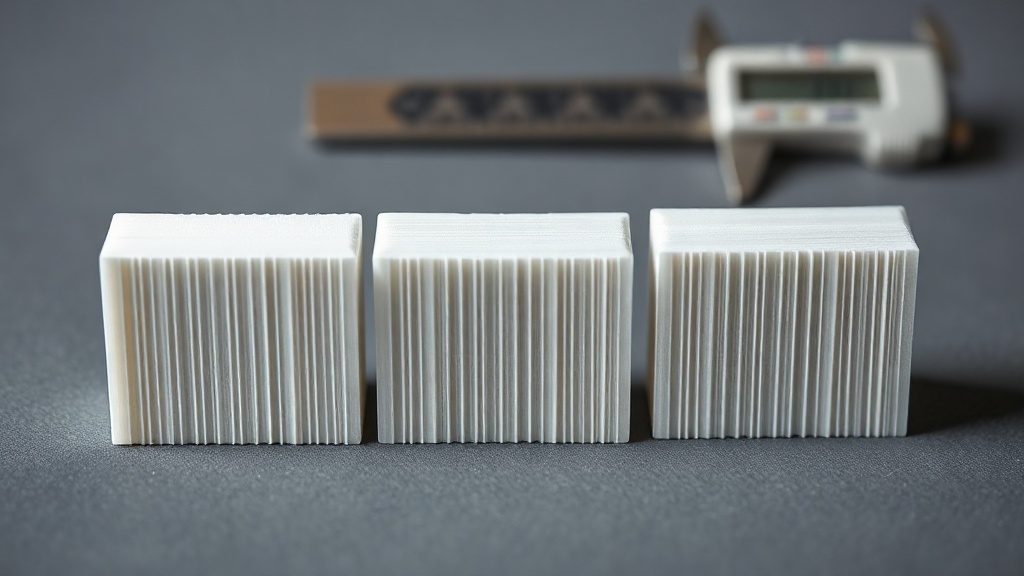
Layer height refers to how much the nozzle moves up on the Z axis with each pass. As the value gets smaller, layer lines become less visible, curved surfaces become smoother, and small details come out cleaner. In return, print time increases. As the value gets larger, production becomes faster; however, layer marks become more noticeable on the surface, and fine details may be lost to some extent.
These three levels are especially common on standard FDM printers using a 0.4 mm nozzle: 0.12 mm fine quality, 0.20 mm balanced quality, and 0.28 mm fast production. Whether the part is cosmetic or functional determines which setting makes more sense. If you want to understand the topic at a more basic level, the guide What Is Layer Height, and How Does It Affect Quality? is also a good starting point.
When should 0.12 mm be preferred?
The 0.12 mm setting stands out for prints where visual quality is the priority. It is suitable for small text, decorative surfaces, figure-like detailed forms, and parts where minimal sanding is desired afterward. On sloped surfaces, the stair-step effect is less visible. However, this increase in quality noticeably extends print time.
- Pros: Smoother surface, better small detail, higher-quality visual result
- Cons: Longer print time, higher cost, may be unnecessary for every model
- Ideal use: Presentation prototypes, visible covers, aesthetic parts
If your part is a sample to be shown to a customer, or if surface quality is as important as function, 0.12 mm is a sensible choice. However, for parts that will stay inside a mechanism, remain unseen, or be produced for quick testing, it can often be unnecessarily fine.
Why is 0.20 mm the most balanced setting?
0.20 mm can be seen as the most commonly used safe middle ground in FDM printing. Surface quality is clean enough for most applications, while print time does not increase as much as with 0.12 mm. For this reason, it is generally the first choice for functional prototypes, enclosures, fixture parts, and everyday-use components.
This is also the approach preferred at Ucuz3D for many functional parts, because 0.20 mm offers a practical balance between quality and lead time. Especially if both affordable 3D printing prices and delivery speed matter for your project, this setting delivers efficient results for most models without unnecessary loss of quality.
In which cases does 0.28 mm offer an advantage?
A 0.28 mm layer height is advantageous for speed-focused production. It can significantly reduce production time for large-volume parts, parts with coarse tolerances, or parts that do not require visual perfection. It can be ideal for test fixtures, draft prototypes, assembly trials, and initial form checks.
The important point here is this: 0.28 mm does not always mean poor quality. It is quite useful for the right model. However, if small detail, fine text, rounded transitions, and display-worthy surface quality are expected, it should be chosen carefully because layer marks will be more visible. Especially at the fast quotation stage, planning your online 3D printing request according to the model makes it much easier to compare different quality options.
Which setting should be chosen for which part?
- If visual quality is the priority: 0.12 mm
- If you want general-purpose, balanced production: 0.20 mm
- If fast testing and a rough prototype are needed: 0.28 mm
In short, there is no single best layer height; the right choice depends on the purpose of the part. An aesthetic presentation model and a functional fixture to be used in the workshop should not be printed with the same setting. If you want to achieve the right balance between quality, time, and budget for your project, the healthiest approach is to evaluate your model according to its intended use.
If you are not sure which layer height is suitable for your part, you can share the model together with its usage scenario to determine the most suitable production option.