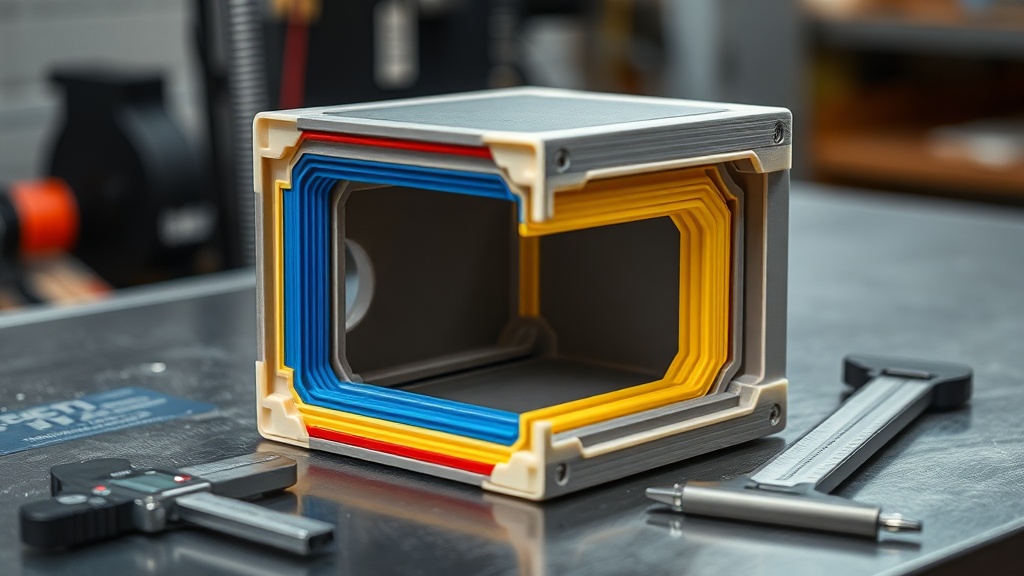
How Many Walls (Perimeters) Should You Use? The Real Secret to Part Strength
When a part breaks in your hands, most people’s first instinct is to increase the infill percentage. In reality, however, the primary driver of strength is usually the wall count — that is, the perimeter setting. Walls form the outer shell of a part, and they are the very structure that offers the first resistance under load. Choosing the right number of walls is therefore often more effective than doubling the infill percentage.
Why Are Walls More Important Than Infill?
Infill supports the walls by filling the internal volume of a part, but it is the outer layers that actually carry the load under forces such as bending, torsion, and impact. Think of the wall thickness of a pipe: thickening the walls is far more efficient against pressure than filling the interior solid. The same logic applies in FDM printing. Using three or four walls instead of two noticeably increases a part’s impact resistance.
How Many Walls Are Enough?
On a printer using a standard 0.4 mm nozzle, each wall adds roughly 0.4–0.45 mm of thickness. As a general starting point, we recommend the following:
- Decorative and visual parts: 2 walls are usually sufficient.
- Everyday use, lightly functional parts: 3 walls strike a good balance.
- Parts under mechanical load, threaded inserts, or impact exposure: Choose 4 or more walls.
- Thin and elongated parts: Increasing the wall count raises resistance to bending.
Does It Vary by Material?
Yes. With tougher materials such as PETG and ABS, increasing the wall count significantly improves impact resistance. With PLA, extra walls add rigidity but do not completely eliminate brittleness. For flexible TPU prints, the wall count directly affects how much the part flexes — more walls give a stiffer feel.
The Cost of Going Overboard
Endlessly increasing wall count is not sensible either. Beyond a certain point, the part becomes nearly solid; print time and filament consumption rise considerably while the strength gain diminishes. After about 4–5 walls, adjusting the infill percentage is generally more efficient. The goal is to reach the strength you need without wasting material and time — and that balance is directly reflected in your production cost.
If you tell us what kind of forces your part will be subjected to, we can dial in the wall count and infill together at the optimal point. With the right settings, both a stronger and a more economical print is possible.


 Türkçe
 العربية
 Русский
 فارسی
فارسی Deutsch