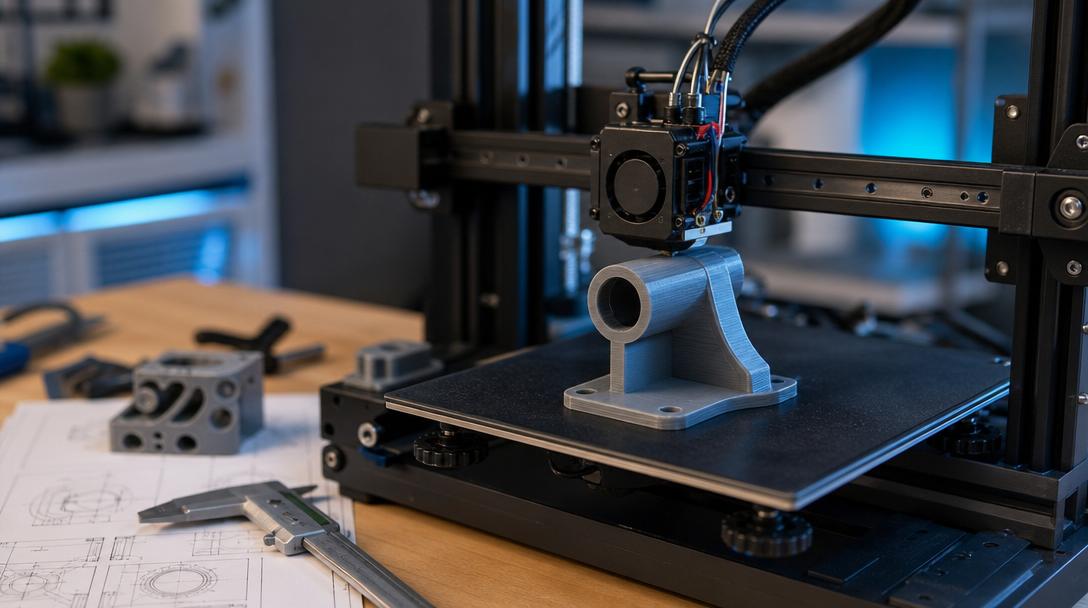
Cost vs. Quality Balance in FDM 3D Printing Prototyping: A Practical Guide
In any product development process, the prototyping stage is the most critical step in moving from idea to production. FDM 3D printing transforms this process by offering both speed and cost advantages. So how do you minimize prototype 3D printing costs without compromising on quality? In this guide, we explain how to get the best results in prototype production in light of the right parameters, material selection and the latest industry developments.
Today, desktop FDM printers have made industrial prototype production suitable for every budget. Case Western Reserve University expanded its prototyping fleet with 24 new Bambu Lab printers, showing how high-speed FDM has become a standard in university laboratories. Similarly, the DLA Columbus Test Center cut the production time of its custom test fixtures made with FDM from weeks to hours, demonstrating just how quickly prototype 3D printing is being adopted even in the defense industry.
Understanding the Difference Between a Prototype and a Production Part
A prototype’s function is different from that of a production part. A prototype is meant to test form, fit and function; a production part, on the other hand, must last for years. For this reason, parameters such as layer height (0.20 mm is generally ideal), infill ratio (15-20% is sufficient for most prototypes) and the number of walls (2-3 perimeters) should be chosen deliberately in prototype production. Unnecessarily high infill or very thin layers increase print time and cost without contributing to the prototype’s testing purpose.
Which Filament Should Be Used and When?
During the prototype stage, material selection directly affects the budget. While PLA is sufficient for visual validation, PETG or ABS is more suitable for functional tests. Innovations such as Dow’s announcement of a new tougher PLA filament and Prusament PLA High Speed show that PLA is becoming increasingly capable for rapid prototyping as well. For more demanding mechanical tests, you can consider printing with engineering materials options.
Another significant development in the industry is Siemens Mobility standardizing the use of FDM spare parts in its maintenance workshops, and the Henkel-Wurth Group launching a certified PETG-CF filament family. Such standardization moves are among the clearest indicators that FDM prototyping has reached an industrial quality level.
Cost Calculation: How Much Does It Cost?
When calculating prototype cost, filament consumption, print time and potential failed prints should be taken into account. For a small prototype part, you can test it with PLA in a few hours and for just a few liras. If you wish, you can see your prototype cost instantly by uploading your STL file and calculating the price instantly. Thanks to our transparent per-gram pricing, you won’t face any surprise costs.
Key Parameters That Affect Quality
- Layer height: 0.20 mm is ideal for the balance between speed and quality. If you need 0.12 mm detail, be prepared for longer print times.
- Number of walls: 3 perimeters are sufficient for mechanical strength in most prototypes.
- Infill ratio: 20% gyroid is a good balance between lightness and strength.
- Print orientation: Don’t underestimate the direction of force relative to the layer adhesion direction; prefer to print your part flat along the axis where it will be stressed the most.
FDM prototyping can deliver industrial-quality results with the right material and parameter choices. Thanks to current printer technologies and material innovations, the transition from prototype to production is now both faster and more economical. You too can speed up your product development process in your next project by discovering the advantages of 3D printing in prototyping.
Whether it’s an idea prototype or a functional test part, FDM 3D printing offers you flexibility, speed and low cost. With our transparent pricing and 1-business-day delivery, bringing your idea into physical form is just a few clicks away.


 Türkçe
 العربية
 Русский
 فارسی
فارسی Deutsch