Bed Leveling Guide: Perfect First Layer with the Paper Method
The fate of a successful print is decided before the machine even reaches the second layer. That is where bed leveling comes in: maintaining the same, thin gap between the nozzle and every point on the bed. If this distance is off, the filament either fails to stick to the bed or gets crushed and spreads. The paper method is the most reliable and cheapest way to feel and set this distance without needing any sensor.
Why Is the Paper Method Still Valid?
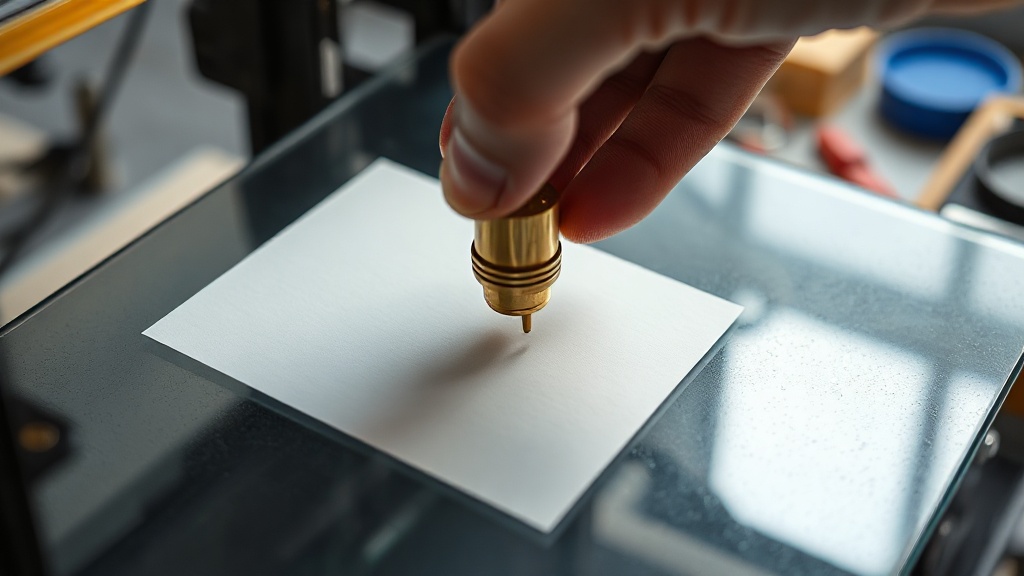
Even though sensors like BLTouch have become widespread, manual leveling helps you understand the underlying physics. A standard A4 sheet of paper is approximately 0.1 mm thick, which is very close to the ideal first-layer gap. The slight friction you feel when sliding the paper between the nozzle and the bed is the sign that you have found the correct distance.
Step-by-Step Manual Leveling
- Heat up: Bring the bed and nozzle to your printing temperature; metals expand with heat, so cold leveling can be misleading.
- Clean the nozzle: Old filament residue on the tip throws off the distance — clean it gently while hot.
- Home the Z axis: Send the printer to its home position.
- Go around the corners: Slide the paper through five points — four corners and the center — and use the adjustment screws to equalize the gap at each point.
- Do two passes: Adjusting one corner affects the others; make at least two full passes to verify.
What Should the Right Feel Be Like?
If the paper slides freely, the nozzle is too high; if it doesn’t move at all, it is too low. What you are looking for is a slight resistance when you pull the paper. This small drag gives you the golden ratio needed for the first layer to stick and spread properly on the bed.
Common Mistakes
The most common mistake is leveling on a cold bed and then starting the print after heating. Another is forcing the leveling on a warped glass or a worn surface — in that case, mechanical adjustment alone is not enough. Fine-tuning your first-layer setting via Z-offset in the slicer can also make your life easier.
If you would rather skip the leveling hassle and have your parts printed on properly calibrated machines, you can send your file through our quick order form and leave the first-layer problem to us.


 Türkçe
 العربية
 Русский
 فارسی
فارسی Deutsch