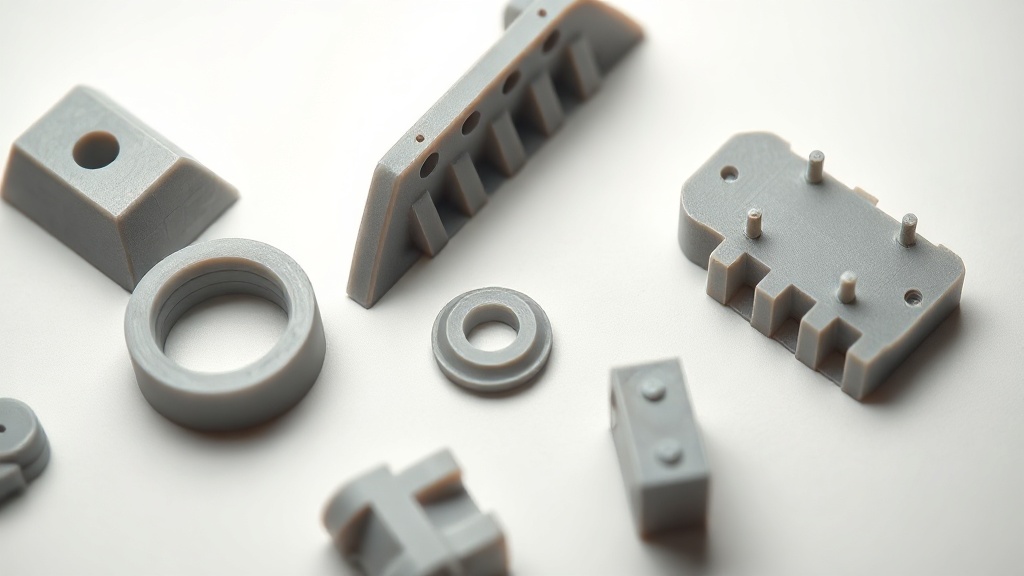
7 Design Tricks to Reduce Supports: Chamfer, Teardrop, and Splitting
When a print finishes, the most frustrating job is removing the supports and cleaning up the marks they leave behind. Yet with a solid support reduction design approach, you can take care of most of that work right at the modeling screen. The seven tricks below save material and noticeably improve the surface quality of your parts.
1. Internalize the 45-degree rule
FDM printers can print overhangs of up to approximately 45 degrees from the vertical axis without supports. If you keep your overhangs below this threshold, you eliminate the need for supports entirely. By keeping this angle in mind early in the design process, you can avoid a large number of supports.
2. Soften overhangs with chamfers
Instead of sharp 90-degree bottom overhangs, use a chamfer. A flat 45-degree chamfer builds the underlying surface gradually and makes supports unnecessary. Chamfering the bottom half of horizontal holes works in the same way.
3. Make horizontal holes teardrop-shaped
Round holes oriented horizontally along the axis are forced to bridge at the top and will sag. When you taper the top of a hole into a teardrop shape, the apex becomes self-supporting and no support is needed. This is an especially valuable trick for holes with critical diameters.
4. Orient your part deliberately
Often the most powerful support-reduction method is simply placing the part on the build plate at a different angle. Rotating the overhanging face so it looks upward can, on its own, eliminate the majority of supports.
5. Split the part and glue it together
If a complex model requires a lot of supports when printed in one piece, split it into two clean halves. Printing each half in a support-free orientation and assembling them afterward yields a cleaner and faster result.
6. Keep bridges short
FDM can bridge, but the longer the span, the more sagging occurs. If you keep the gap between two anchor points as short as possible, you can achieve a clean bottom surface without any support.
7. Hide the surfaces that touch supports
When supports are completely unavoidable, position the support contact surface on a hidden or non-functional side of the part. That way, any remaining marks don’t create an aesthetic problem.
How much difference does it make in practice?
- Less material and shorter print times
- Significant reduction in removal and cleanup labor
- Smoother bottom surfaces
If you’d like to see the concrete impact of these techniques on print time and cost, take a look at our production pricing page.
If you’d like to evaluate together how your model can be optimized so it doesn’t require supports, just share your design with us.


 Türkçe
 العربية
 Русский
 فارسی
فارسی Deutsch