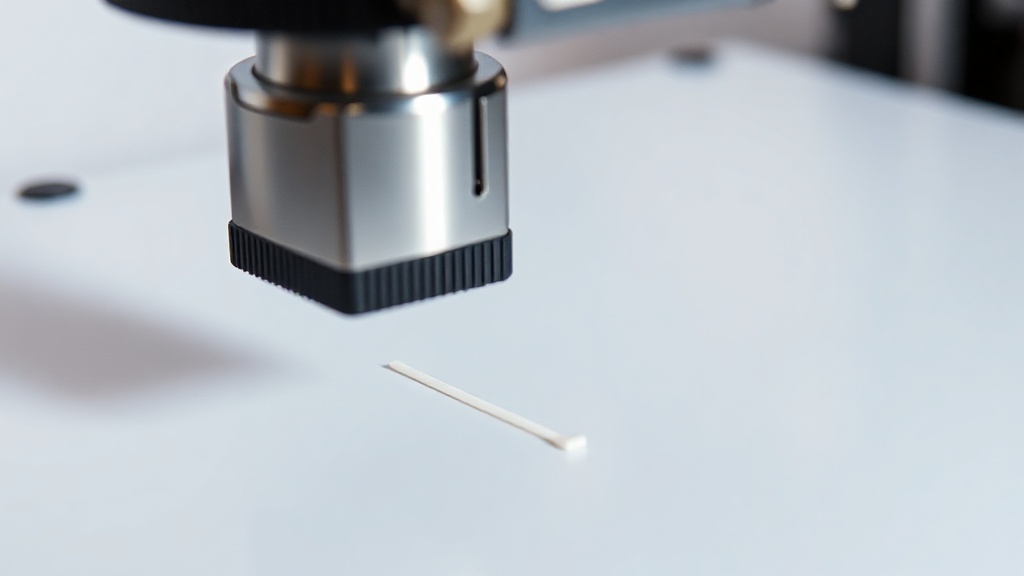
Z-Offset Calibration: When the First Layer Is Too Squished or Too High
You’ve levelled your bed and checked your material settings, but the first layer is still either getting crushed against the bed or hovering in the air with lines that don’t touch each other — in that case the problem is most likely your z offset setting. This setting fine-tunes the Z-axis home position of the nozzle, determining the actual gap between the nozzle and the bed. Especially on printers with an automatic bed-levelling sensor, even if the levelling is correct, a wrong z-offset will always prevent the first layer from coming out as you want it.
Identify the Problem from the Symptoms
To adjust in the right direction, first clarify which problem you are facing:
- Offset too low (too negative): The first layer is excessively flat, almost transparent, and you can see material building up around the nozzle; sometimes it leaves scratches on the bed.
- Offset too high (too positive): Lines remain round and spaced apart, they don’t bond to each other; the layer peels off easily with your finger.
- Correct offset: Lines are slightly pressed down, edges touching each other, forming a matte and uniform surface.
Adjusting Live: Baby Stepping
The most practical method is to change the setting on the fly while printing. Most printers have a menu option called “Babystep Z” or similar. While the first layer is being printed, you can adjust the Z value in small increments (usually 0.01–0.02 mm) and watch the surface correct itself in real time.
Direction Logic
If the layer is floating in the air, you need to bring the nozzle closer to the bed, meaning you move the offset in the negative direction. If the layer is too squished, you do the opposite. Once you find a value you’re happy with, make sure to save it — otherwise it will reset when you start the next print.
Proceed in Small Steps
Z-offset is an extremely sensitive setting; even 0.05 mm creates a visibly noticeable difference. Therefore, make small incremental changes rather than big jumps, and observe the result after each adjustment. When you switch to a different material or bed surface, you may need to re-check your offset.
If you’d rather skip these fine calibrations and receive parts without compromising on print quality, feel free to check our current production pricing.
The correct z-offset is the final key to a clean first layer; once you find it, most of your prints will start without issues.


 Türkçe
 العربية
 Русский
 فارسی
فارسی Deutsch