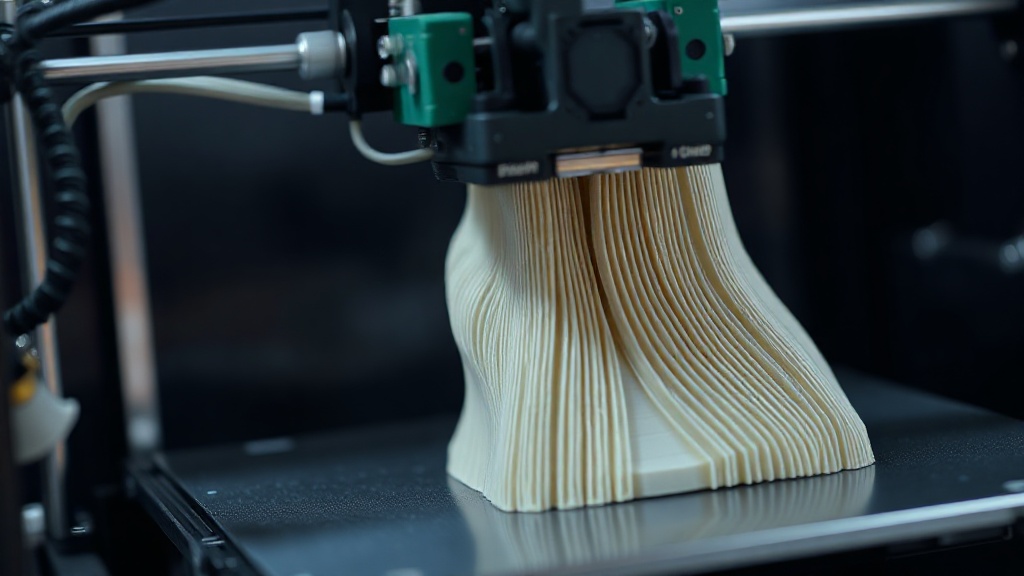
Print Speed Settings: How to Balance Quality and Time in FDM Printing
When pulling a new part off the printer, the first question most users ask is: “Could I have printed this faster?” This is exactly where the right print speed setting comes in. Speed is one of the most misunderstood parameters in FDM printing — it affects both delivery time and surface quality at the same time. The good news: once you understand the balance, finding a reasonable middle ground for each part isn’t difficult.
What Does Speed Actually Affect?
The faster the print head moves, the less time the molten plastic has to bond and cool. Once you exceed a certain threshold, the nozzle can’t extrude enough material, the extruder starts skipping steps, and layer adhesion weakens. Typical symptoms that appear at excessive speeds include:
- Ringing / ghosting artifacts visible at corners
- Rough, incompletely closed surfaces on top layers
- Slipping and dimensional deviation on fine details
- Instability and risk of failure at higher layers
There Is No Single Speed
The “speed” you see in slicer software is not actually a single number. Separate values are defined for outer wall, inner wall, infill, top/bottom layers, and bridges. In practice, the outer wall is the most visually prominent area; so slowing the outer wall slightly while speeding up the infill saves time and still leaves the surface clean.
A Practical Starting Point
For a standard 0.4 mm nozzle with PLA, a range of 30-50 mm/s for the outer wall and 60-100 mm/s for infill is a safe starting point for most desktop printers. For PETG and flexible materials, these values need to be reduced noticeably, as these materials work best with a slower, steadier flow. Keep in mind that when you change speed, acceleration and jerk settings also affect the result — simply raising the speed number often doesn’t deliver the expected time saving.
When Should You Sacrifice Speed?
For parts where surface appearance matters, fine detail is required, or dimensional accuracy is critical, reducing speed makes a real quality difference. Conversely, for prototypes, internal mechanisms, or hidden structural parts, higher speed is entirely reasonable. Rather than blindly adjusting numbers in your slicer, asking yourself where the part will be used leads to much better decisions.
If you’re unsure at what speed a complex part will be best produced, let us do that evaluation for you. Click here to get a quick quote and we’ll find the optimal speed-quality balance for your model together.


 Türkçe
 العربية
 Русский
 فارسی
فارسی Deutsch