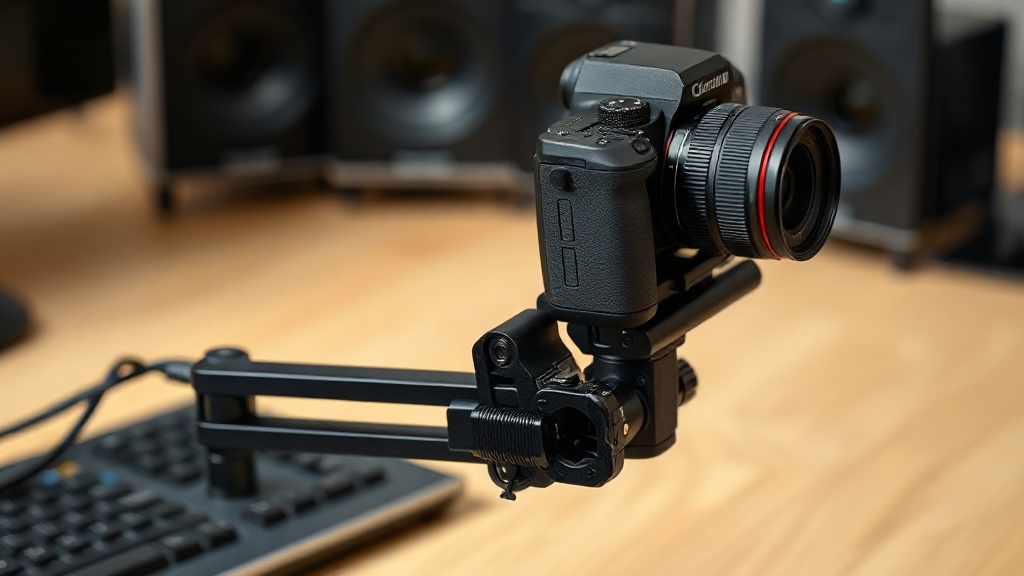
Microphone and Camera Mount Printing Guide for Home Studios
An arm on your desk, a bracket behind your monitor, a hidden slot under a shelf… As your content creation setup grows, standard off-the-shelf parts start falling short. Designing a camera mount that fits your exact needs is a smart solution that tames cable clutter and personalises your workspace. In this post we look at the design details that make microphone and camera holders solid and functional.
Knowing the standard threads is half the battle
The photo-video world revolves around a handful of common thread sizes, and knowing them ensures your mount fits every piece of gear. Before you start designing, note these standards:
- 1/4″-20 screw: The classic tripod thread found on the bottom of cameras and many accessories.
- 3/8″-16 screw: The larger thread used on heavier equipment and professional stands.
- 5/8″ microphone flange: The widespread standard for microphone stands and boom arms.
It is possible to print these threads directly into plastic, but for points that are frequently assembled and disassembled, embedding metal nuts (such as heat-set inserts) gives a far more durable result.
Load and leverage calculation
The weight at the end of a camera arm creates far greater torque at the mounting point than it might appear. That is why it is important to keep the body wall thickness generous, increase infill percentage in the load-bearing direction, and plan the print orientation so that layer lines do not run perpendicular to the shear force. Short, triangulated supports vibrate less and carry loads more safely than long arms.
Vibration and audio quality
The biggest enemy in microphone mounting is the transmission of impacts from the desk and keyboard through the body to the microphone. Designing a flexible intermediate layer, a rubber ring pocket, or a simple shock-mount pass-through point into the mount noticeably reduces this vibration. On the camera side, adding small friction surfaces to swivel joints prevents the piece from slowly drooping after you set the angle.
Measure first, print second
The most critical step for custom mounts is taking accurate measurements of your existing equipment. When you provide clear values — screw diameter, clamp width, shelf thickness — the result fits perfectly on the first try. Once you share your project and measurements via our quick order page, we can work together to select the right material and print orientation for your load requirements.
Just describe the missing piece in your setup, and together we will create a solid mount that fits perfectly.



 Türkçe
 العربية
 Русский
 فارسی
فارسی Deutsch