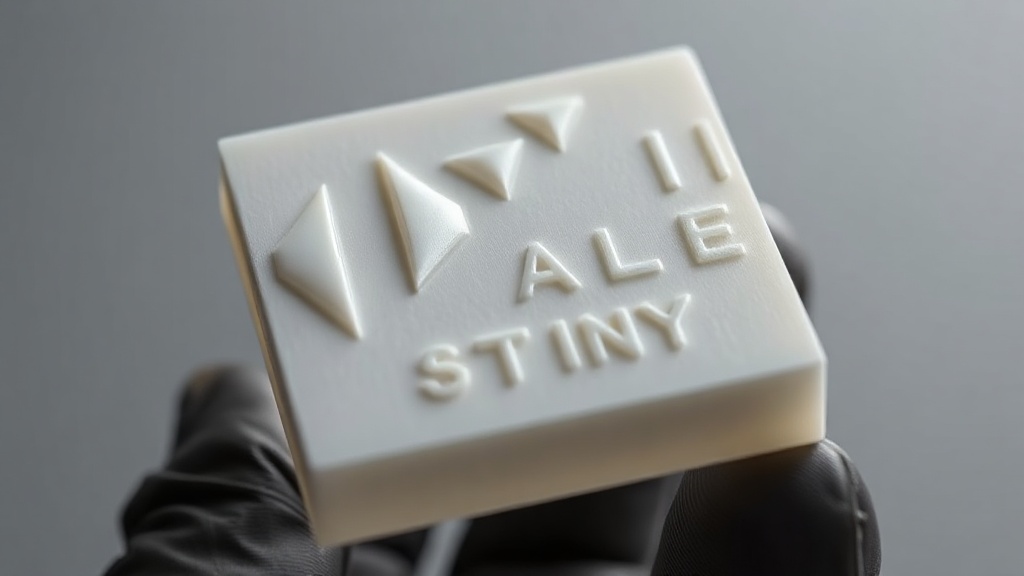
Embossed Text in 3D Printing: Minimum Dimensions for Readable Logos and Text
The name, date, or logo you add to your part looks perfect on the CAD screen — but once it comes off the printer, the letters may fuse together into an unreadable blob. A clean embossed text print result is less about the beauty of the font and more about respecting the physical limits imposed by the nozzle diameter. In this article we share the minimum dimensions and practical tips needed for embossed and debossed text to come out legible.
Emboss or Deboss?
Both work, but each has different strengths. Embossed text protrudes above the surface, so it reads with shadow even in a single-color print — but thin strokes are fragile and prone to layer separation. Debossed text is engraved into the surface, making it more durable, and it’s ideal for later color-filling (for example with acrylic paint). On a horizontal surface, debossed text requires the upper layers to bridge across the recess, resulting in a flat base that actually improves readability.
Minimum Dimensions
On a typical FDM printer using a 0.4 mm nozzle, the following values are a safe starting point:
- Line width: The thinnest part of the letter stroke should be at least as wide as the nozzle diameter — i.e. 0.4 mm — but aim for 0.8–1 mm for comfortable readability.
- Emboss height: 0.4–0.6 mm (at least two layers) produces a clearly visible relief; no need to go higher.
- Deboss depth: 0.4–0.8 mm is sufficient; going deeper creates more shadow but makes cleaning harder.
- Letter spacing: Leave at least 0.5 mm between letters, otherwise adjacent characters merge into a single smear.
Font and Orientation Choice
Thin, serif, and highly decorative fonts do not perform well in FDM; bold, simple sans-serif fonts are far more legible. Where possible, orient the text so the letters are read in the horizontal plane rather than perpendicular to the build plate (Z direction) — on a vertical surface, layer lines make the edges of letters look jagged. For very small text, a 0.2 mm layer height increases vertical resolution and softens the edges. If you want a color accent, painting debossed text with a fine brush and wiping off the excess gives a clean result. You can submit your design through our quick order page and we can evaluate together which method best suits your part.
Test First
Before printing your logo directly onto a large part, printing a small test plate with a few different sizes and depths saves a great deal of time. This way you can see with your own eyes the real limits of your specific printer and chosen font.
A relief prepared with the right dimensions makes even an inexpensive part look refined. If you’d like to bring your brand or personal detail to print, share your design with us and we’ll produce it with the optimal settings for a legible, clean result.


 Türkçe
 العربية
 Русский
 فارسی
فارسی Deutsch