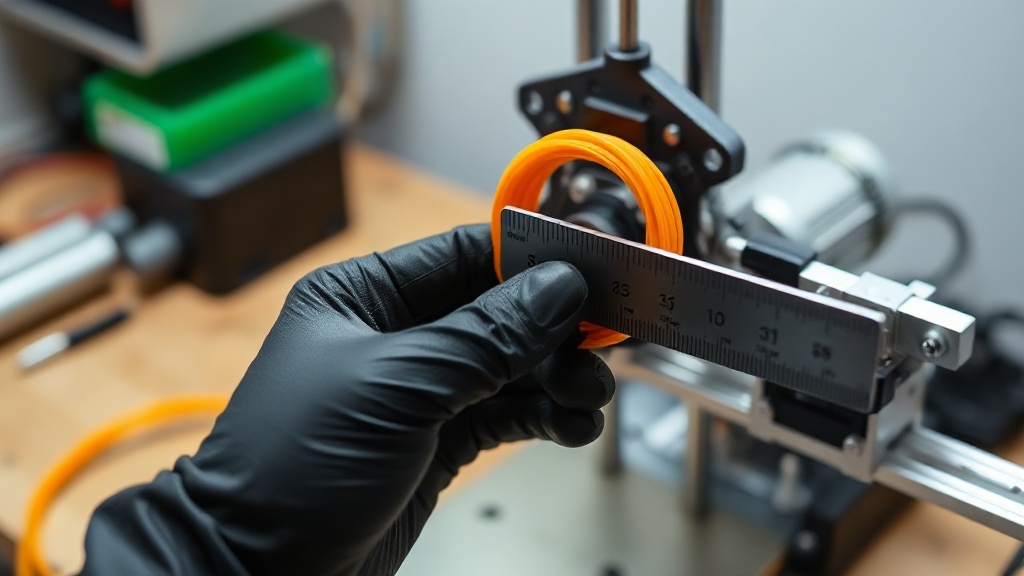
E-Step Calibration: Getting Your Extruder Steps Right with the 100 mm Filament Test
Your design is perfect, your slicer settings are spot on, yet you still see under-extrusion, weak walls, or the opposite — blobs and overflow. The culprit is almost always how much filament the extruder is actually feeding. That is exactly where E-Step calibration comes in. The E-Step value tells your printer how many motor steps it must turn to push 1 mm of filament; if this value is off, every other setting you have rests on a flawed foundation.
What Is E-Step and Why Does It Matter?
E-Step (extruder steps/mm) is the number of steps the stepper motor takes to feed a given length of filament. Whenever you change the gear ratio, driver micro-step setting, or extruder type, this value drifts. As a result, when the slicer wants 100 mm of filament fed, the printer might deliver 95 mm or 104 mm instead. That discrepancy affects everything from surface quality to part strength.
The 100 mm Filament Test — Step by Step
The most reliable calibration method is to command the printer to feed a measurable distance and then compare the actual result:
- Heat the nozzle to the appropriate temperature for your material (for example, 200–210 degrees for PLA); cold extrusion stresses the filament and skews the result.
- Mark the filament exactly 120 mm from the extruder entrance.
- Send the printer a 100 mm feed command (via terminal, something like G1 E100 F100 at a slow feed rate).
- After the feed is complete, measure the remaining distance between the mark and the extruder entrance. The ideal result is 20 mm remaining.
- If 25 mm remains, only 95 mm was fed; if 15 mm remains, 105 mm was fed.
Calculating the New E-Step Value
The formula is straightforward: New E-Step = (Current E-Step × 100) / Actual mm fed. Say your current value is 93 and only 95 mm was fed. The new value is (93 × 100) / 95 = 97.89. Enter this with the M92 command, save with M500, then repeat the test to confirm.
Flow Rate Fine-Tuning After Calibration
Once E-Step is accurate, you can move on to fine-tuning the flow rate. Printing a single-wall cube and measuring its wall thickness with calipers is an excellent way to complement the mechanical calibration with software-side adjustments. When these two steps are done together, dimensional accuracy improves noticeably.
If you would rather skip calibrating your own printer and go straight to a professionally calibrated production service, send us your project and get a quick quote. In our workshop in Sile we work with 17 different materials and care about the dimensional accuracy of every part. Reach out to us for prints that hold their dimensions.


 Türkçe
 العربية
 Русский
 فارسی
فارسی Deutsch